A great hunting diorama doesn’t just display a scene—it tells a story you can step into with your eyes. Hunting Dioramas & Exhibits on Hunting Streets is where craft, habitat knowledge, and outdoor culture come together to recreate the feel of a frosty meadow, a timbered saddle, or a marsh edge at first light. Here you’ll find ideas and techniques for building realistic terrain bases, shaping ridgelines, carving creek beds, and layering ground cover so it reads like the real world from every angle. We’ll explore scale, composition, and lighting—how shadows suggest depth, how color shifts with season, and how tiny details like tracks, rub lines, shed hair, and wind-swept grasses bring an exhibit to life. Whether you’re making a classroom display, a cabin centerpiece, a trophy-room habitat vignette, or a compact shadowbox for a shelf, this hub walks you through materials, durability tricks, and layout planning. The goal is simple: build exhibits that honor the land, capture the moment, and keep your best stories visible year-round.
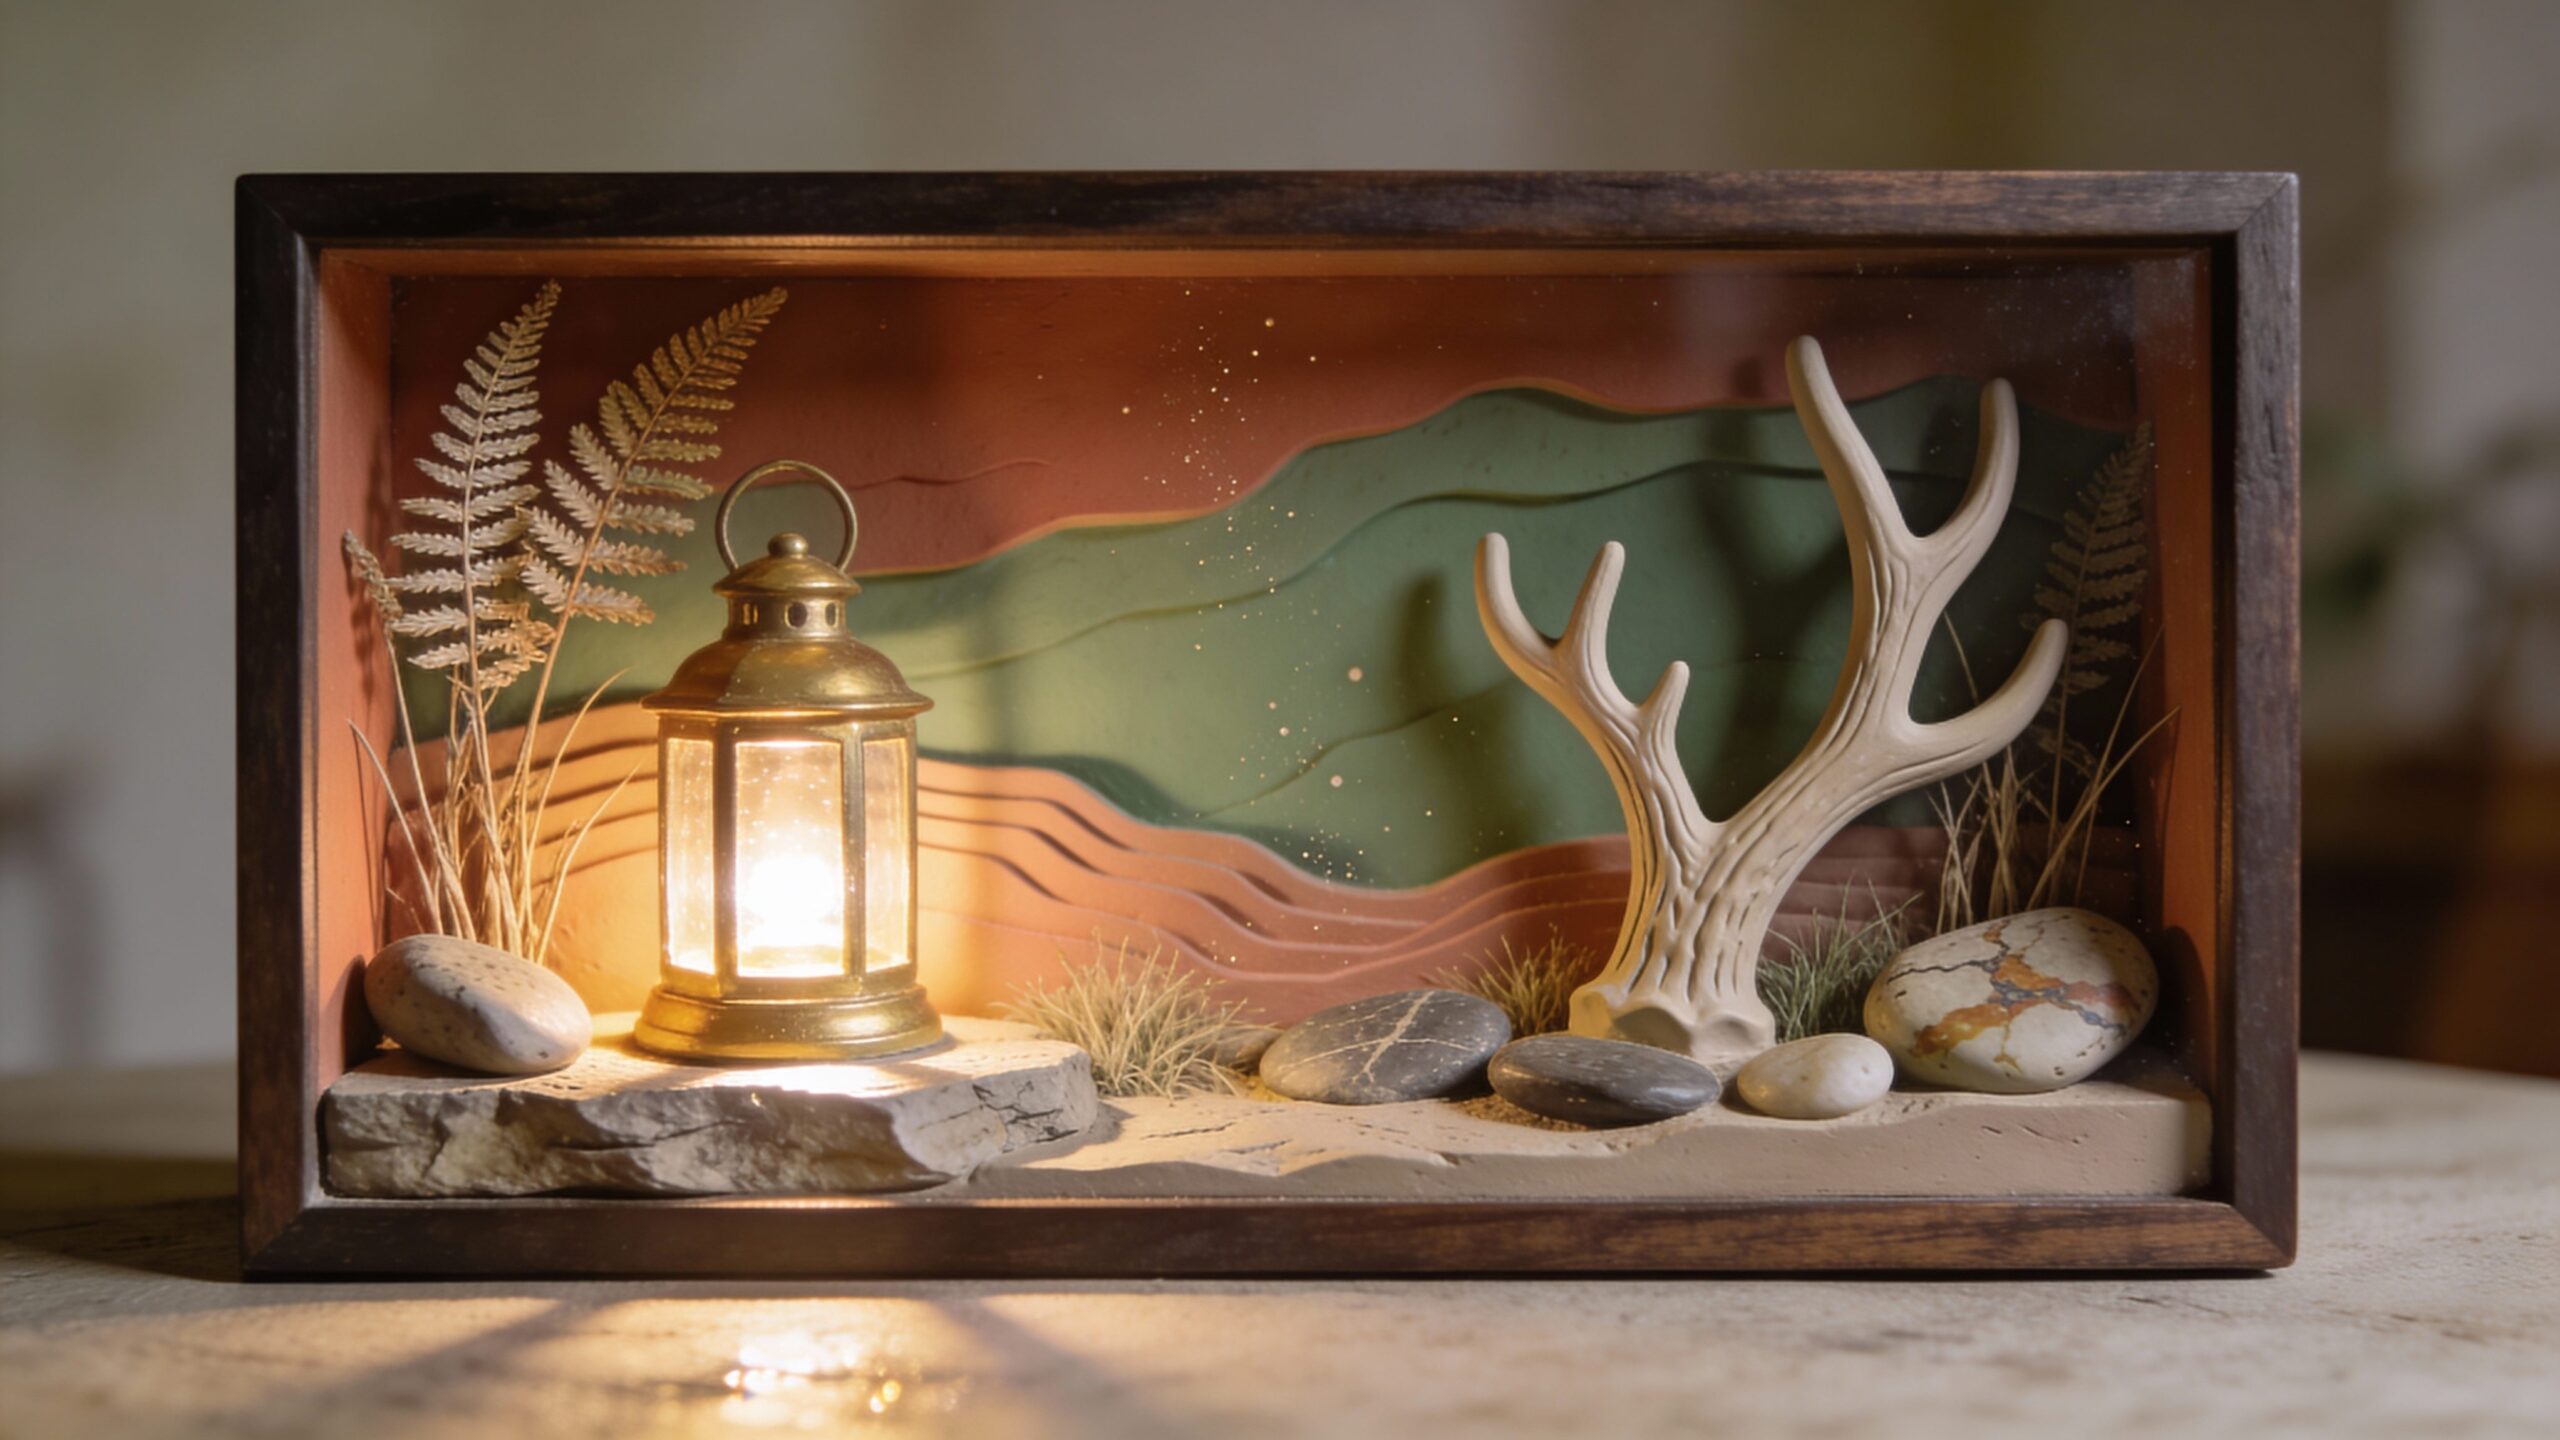
A: A small shadowbox habitat scene with one clear landform and simple ground cover.
A: Use layered matte sealers and lock down dirt/grass with diluted adhesive.
A: Not required—real textures help, but sealed and cleaned materials are best.
A: Match stride, direction, and depth to terrain and behavior.
A: Angled warm-white light that creates soft shadows and depth.
A: Reduce shine, vary tones, and add micro-texture and shadowing.
A: Yes—acrylic covers or shadowboxes prevent dust and damage.
A: Absolutely—show tracks, beds, browse lines, and habitat funnels.
A: Sketch a top-down layout and place big forms before tiny details.
A: A small one can be a weekend; detailed exhibits can grow over weeks.