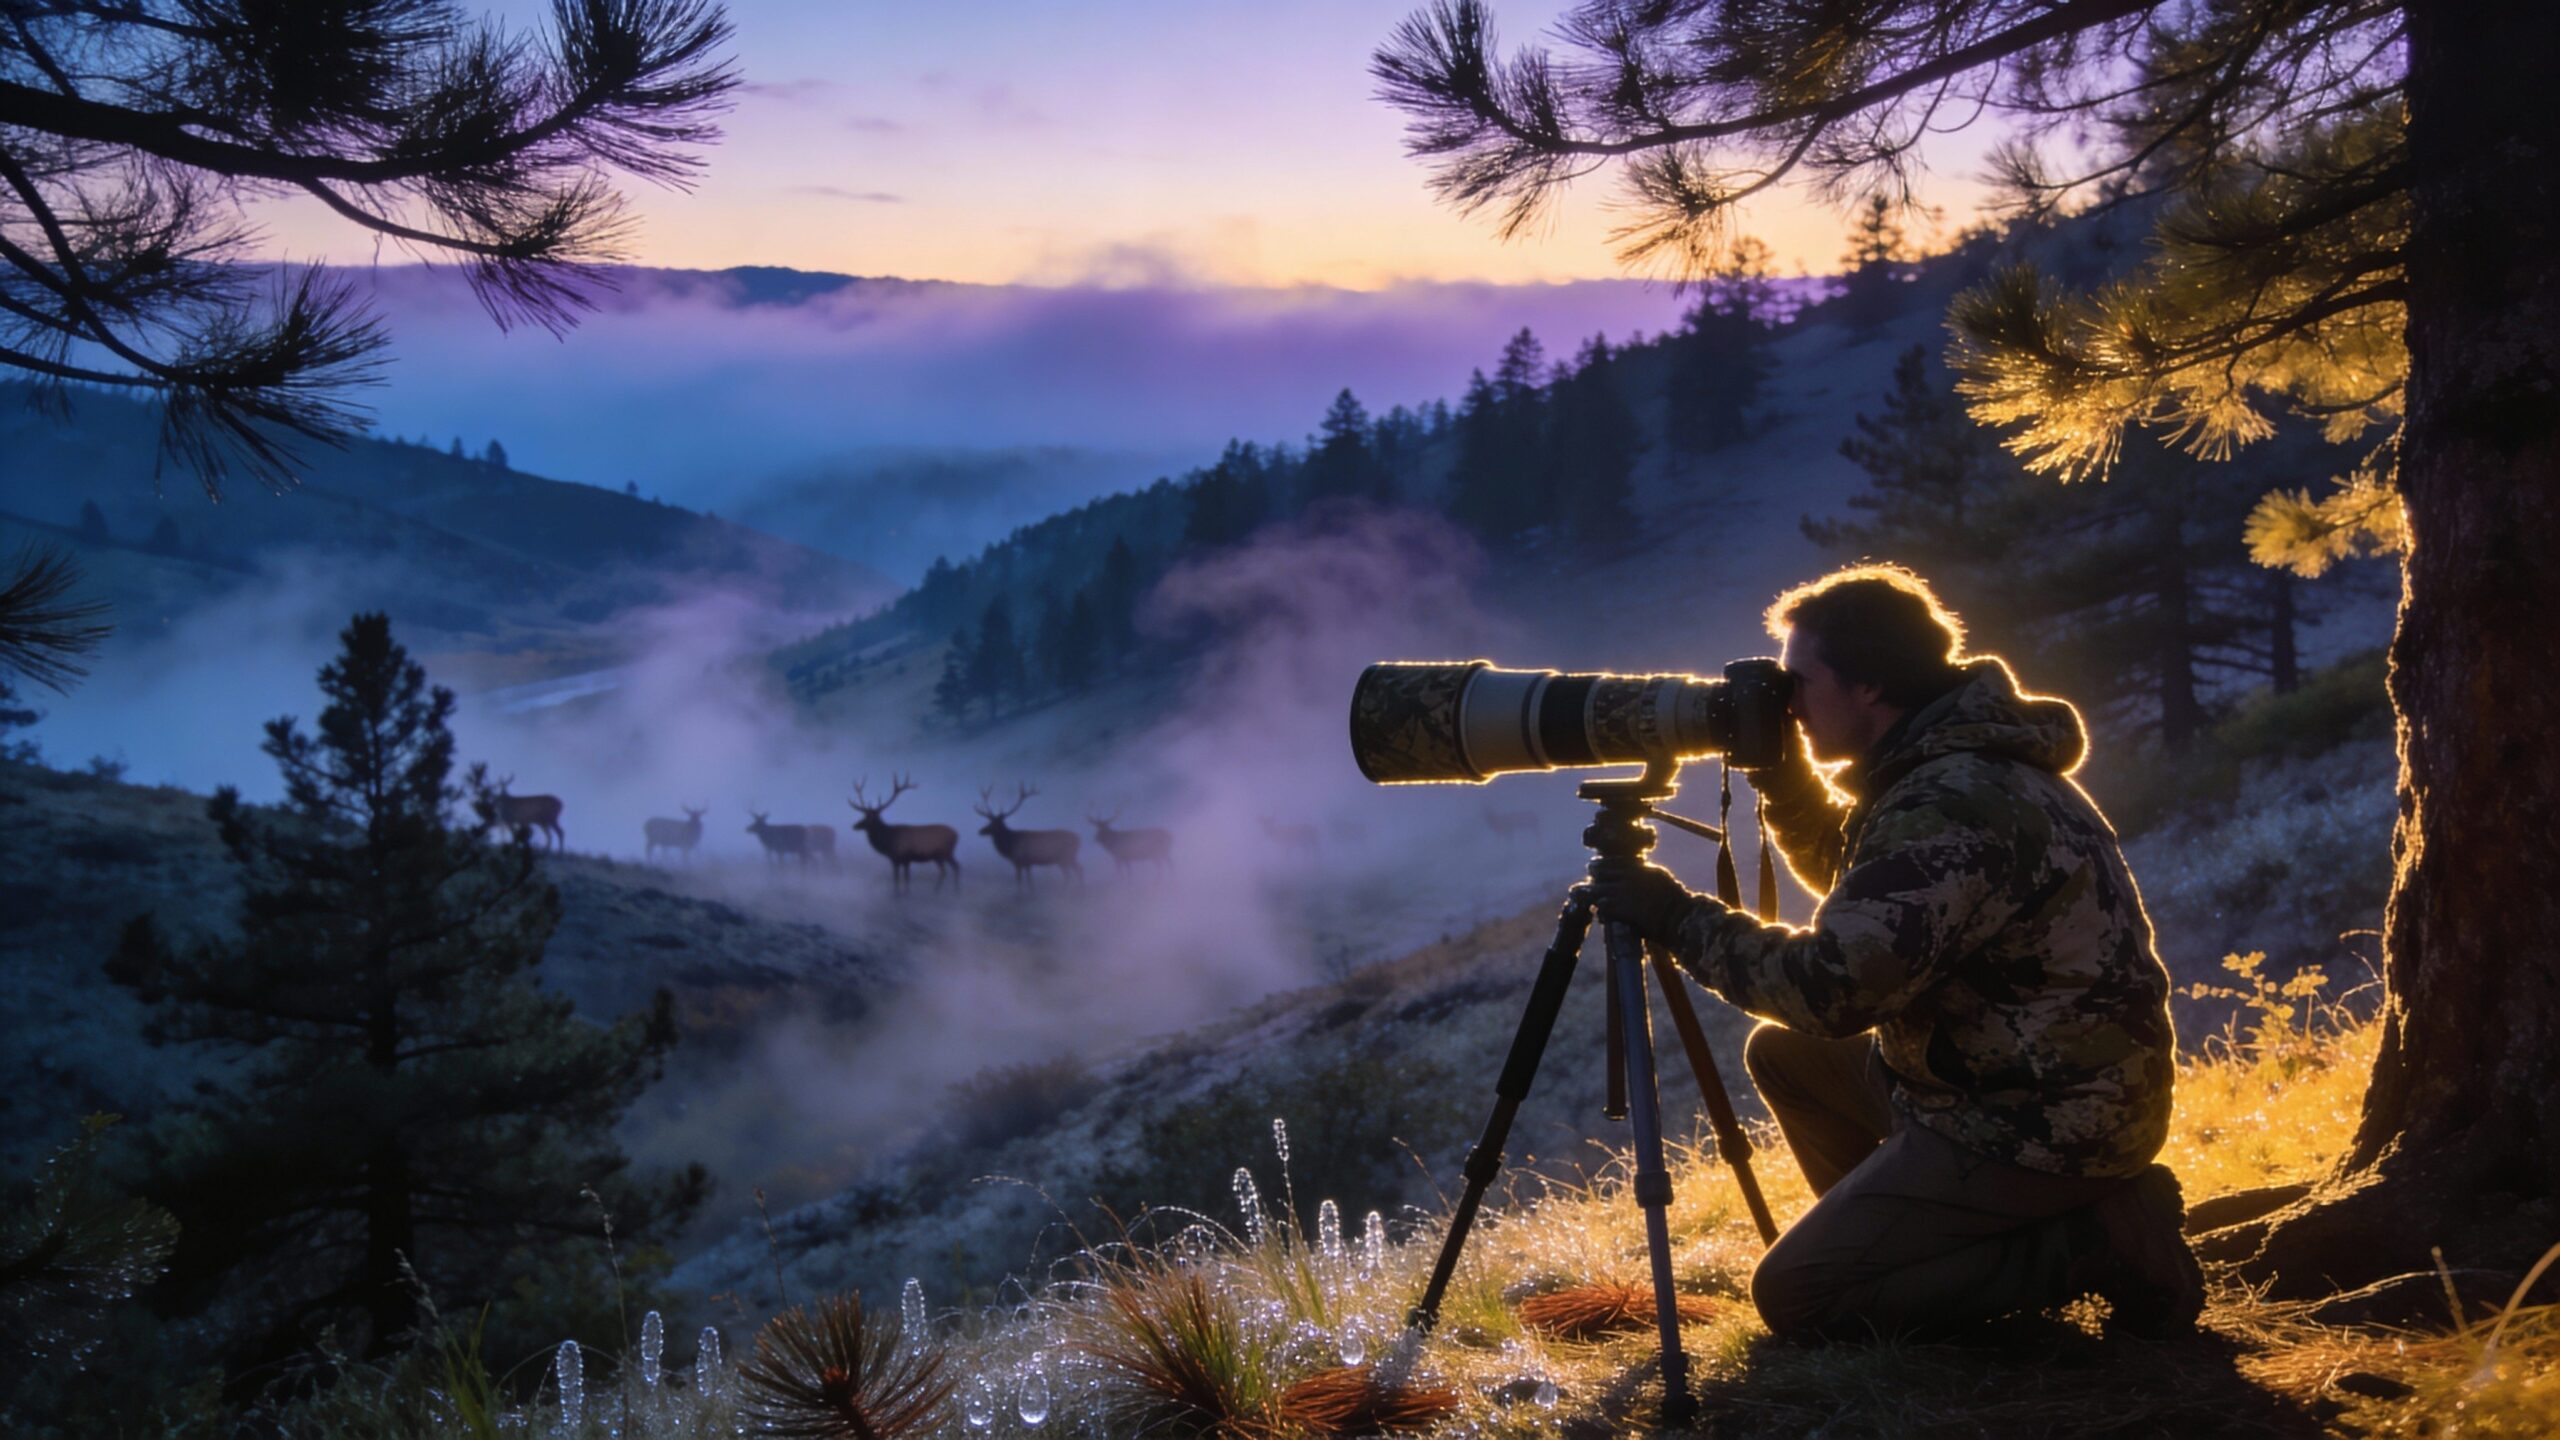
Wildlife Photography on Hunting Streets is where patience meets adrenaline—and the reward is a frame that feels alive. Out here, the best “trophy” is a story told in light: a whitetail slipping through timber at dawn, a hawk locking onto thermals, steam rising from an elk’s breath in first frost. This hub is built for hunters, hikers, and backcountry roamers who want to document wild moments with respect, skill, and clean technique. You’ll find field-ready guides on reading sign, choosing angles, and staying downwind so you capture behavior, not panic. We break down settings for low light, action bursts, and crisp eye focus, plus practical advice on stabilizing shots, protecting gear, and working safely around big game. Whether you’re shooting from a ridgeline, a blind, or a quiet creek crossing, these articles help you bring home images that feel earned—honest, sharp, and unforgettable. Welcome to the trail where every shutter click is part of the hunt.
A: A 100–400mm or 150–600mm class lens covers most situations without crowding animals.
A: Use faster shutter speeds, brace on a pack/tree, and shoot short bursts with steady breathing.
A: Open aperture, set a minimum shutter, and use Auto ISO—noise is easier to fix than blur.
A: If behavior changes—staring, stomping, alarm calls, retreating—you’re too close. Back off.
A: Great for long sits and heavy lenses; for hiking, a monopod or pack rest often works better.
A: Acclimate gear gradually, keep it in the pack while warming, and use a microfiber cloth gently.
A: Get lower and simplify the background—clean separation makes images feel pro instantly.
A: Continuous AF, higher shutter speed, and keep the focus point on the head/upper body.
A: It’s risky and often illegal; it can change behavior and create conflict. Rely on fieldcraft instead.
A: Stay calm, give space, don’t run, and move away while keeping awareness of wind and terrain.