What Separates Amateur Builds from Professional Results
The difference between a rough DIY project and a polished, professional-looking gear build rarely comes down to budget alone. It comes from intentional design, careful material selection, and disciplined execution. Professional builds feel cohesive. Edges align. Surfaces are smooth. Every component appears deliberate, even when the build itself is simple. When you approach custom gear building with a structured process, you shift from improvisation to craftsmanship. This guide walks through that process step by step, showing how to create gear that not only functions well but also looks refined, durable, and purpose-built.
A: No, precision and technique matter more than cost.
A: Rushing through cuts and finishing.
A: Focus on sanding and alignment.
A: It depends on use, but consistency is key.
A: It defines the final look and durability.
A: Yes, with clean execution and detail.
A: Use guides and take your time.
A: Always, it reveals improvements.
A: Use durable materials and proper finishes.
A: Clean lines, precision, and consistency.
Step 1: Define the Purpose Before You Build
Every professional build begins with clarity. Before touching a tool, define what the gear is meant to do, how it will be used, and the environment it will operate in. Is it designed for portability, heavy-duty use, or aesthetic display? Will it be handled frequently, exposed to weather, or stored carefully?
Understanding the purpose shapes every decision that follows. It influences material choice, structural design, finishing methods, and even tolerances. Without this clarity, builds often become inconsistent, with mismatched features or unnecessary complexity. A strong purpose keeps the entire project aligned and efficient.
Step 2: Plan the Design Like a Professional
Professional-looking gear rarely comes together spontaneously. It starts with a design that has been thought through, refined, and simplified before construction begins. Sketching your idea, even roughly, helps visualize proportions, connections, and layout.
Focus on balance and symmetry. Clean lines and consistent spacing are often what make a build feel professional. Avoid overcrowding features or mixing too many styles. Simplicity, when executed well, creates a stronger visual impact than unnecessary complexity.
At this stage, consider how parts will connect. Hidden fasteners, flush surfaces, and clean transitions between materials all contribute to a refined look. Planning these details early prevents compromises later.
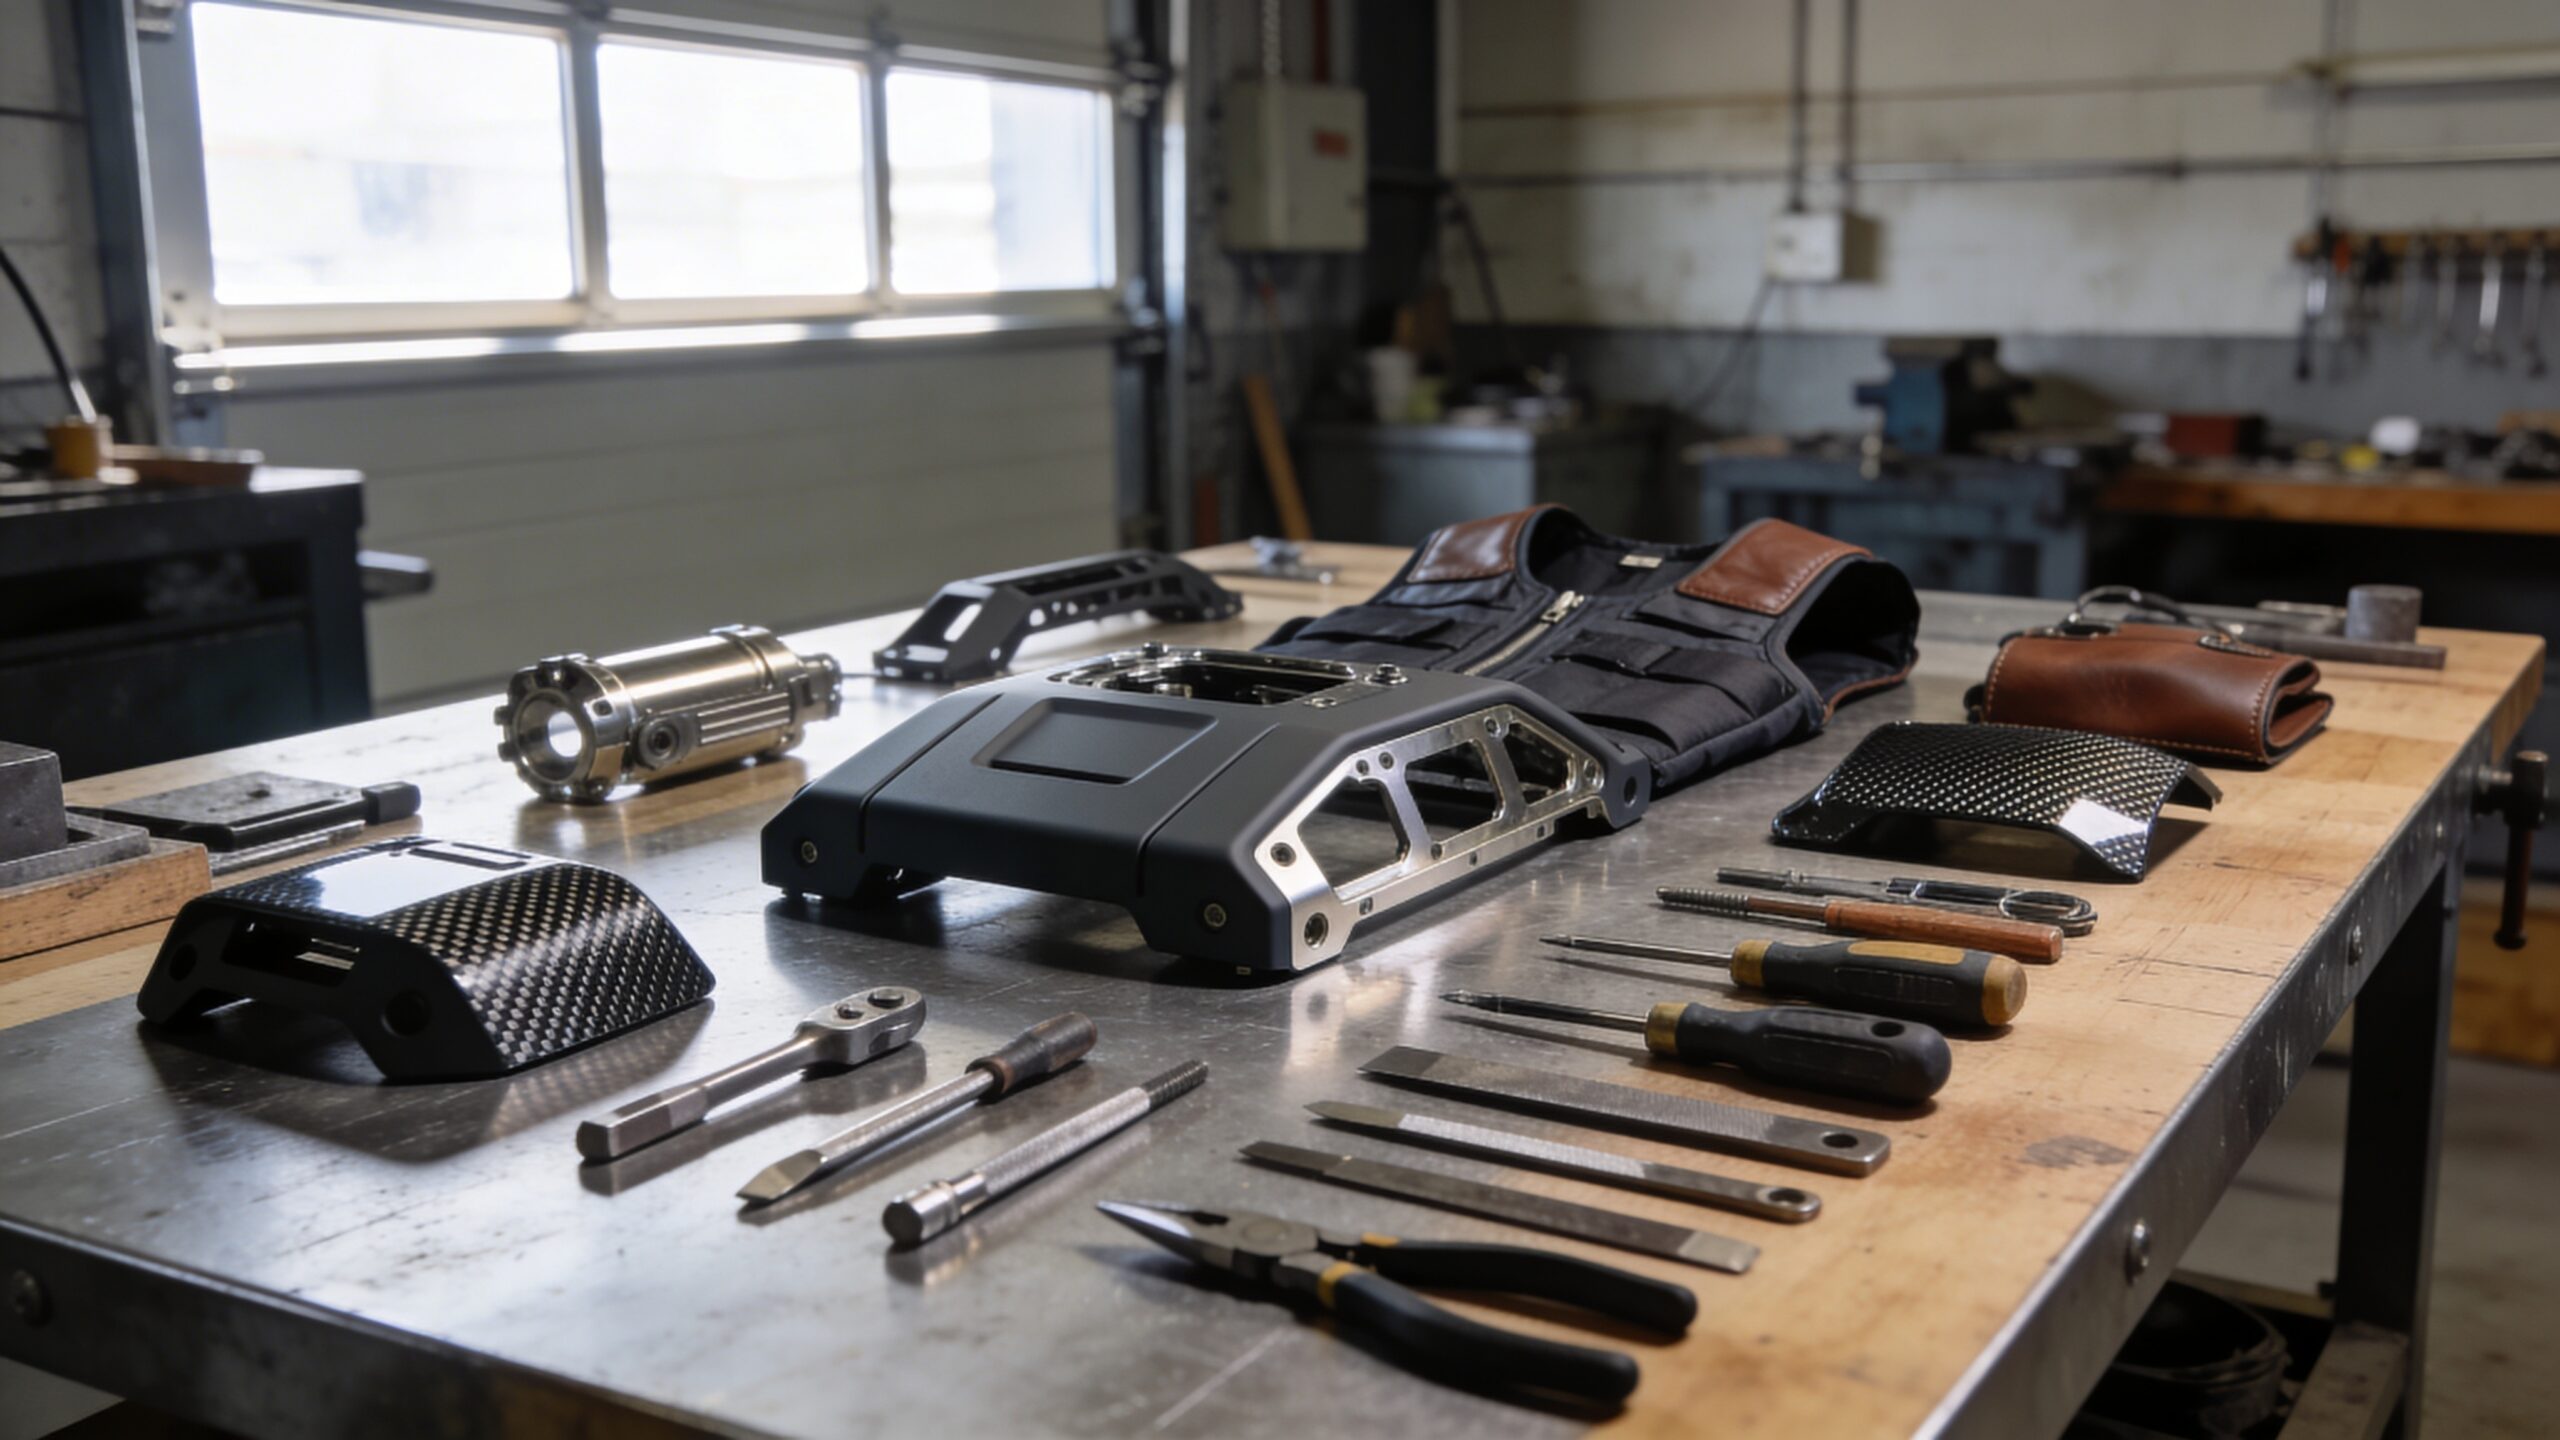
Step 3: Choose Materials That Match the Build
Material selection plays a major role in how professional a finished piece appears. Even a well-designed build can look unfinished if materials clash or degrade quickly. Choose materials based on durability, workability, and visual consistency.
Wood offers warmth and flexibility, but requires careful finishing. Metal provides strength and a clean industrial feel, though it demands precision. Composites and plastics can deliver lightweight performance with smooth surfaces, especially when cut and finished properly. Consistency matters. Mixing too many materials without a clear design intention often creates a disjointed appearance. When combining materials, ensure their textures, colors, and finishes complement each other rather than compete.
Step 4: Use the Right Tools—and Use Them Correctly
Professional results depend on precision, and precision depends on tools. While high-end equipment can help, the key is using whatever tools you have with care and consistency. Clean cuts, accurate measurements, and controlled finishes are what elevate a build.
Take time to set up your workspace properly. Stable surfaces, proper lighting, and organized tools reduce mistakes and improve efficiency. Measure twice, cut once is more than a saying—it’s a principle that prevents costly errors.
Equally important is tool control. Rushing through cuts or finishes often leads to uneven edges and visible flaws. Slowing down and maintaining steady, consistent motion ensures cleaner results.
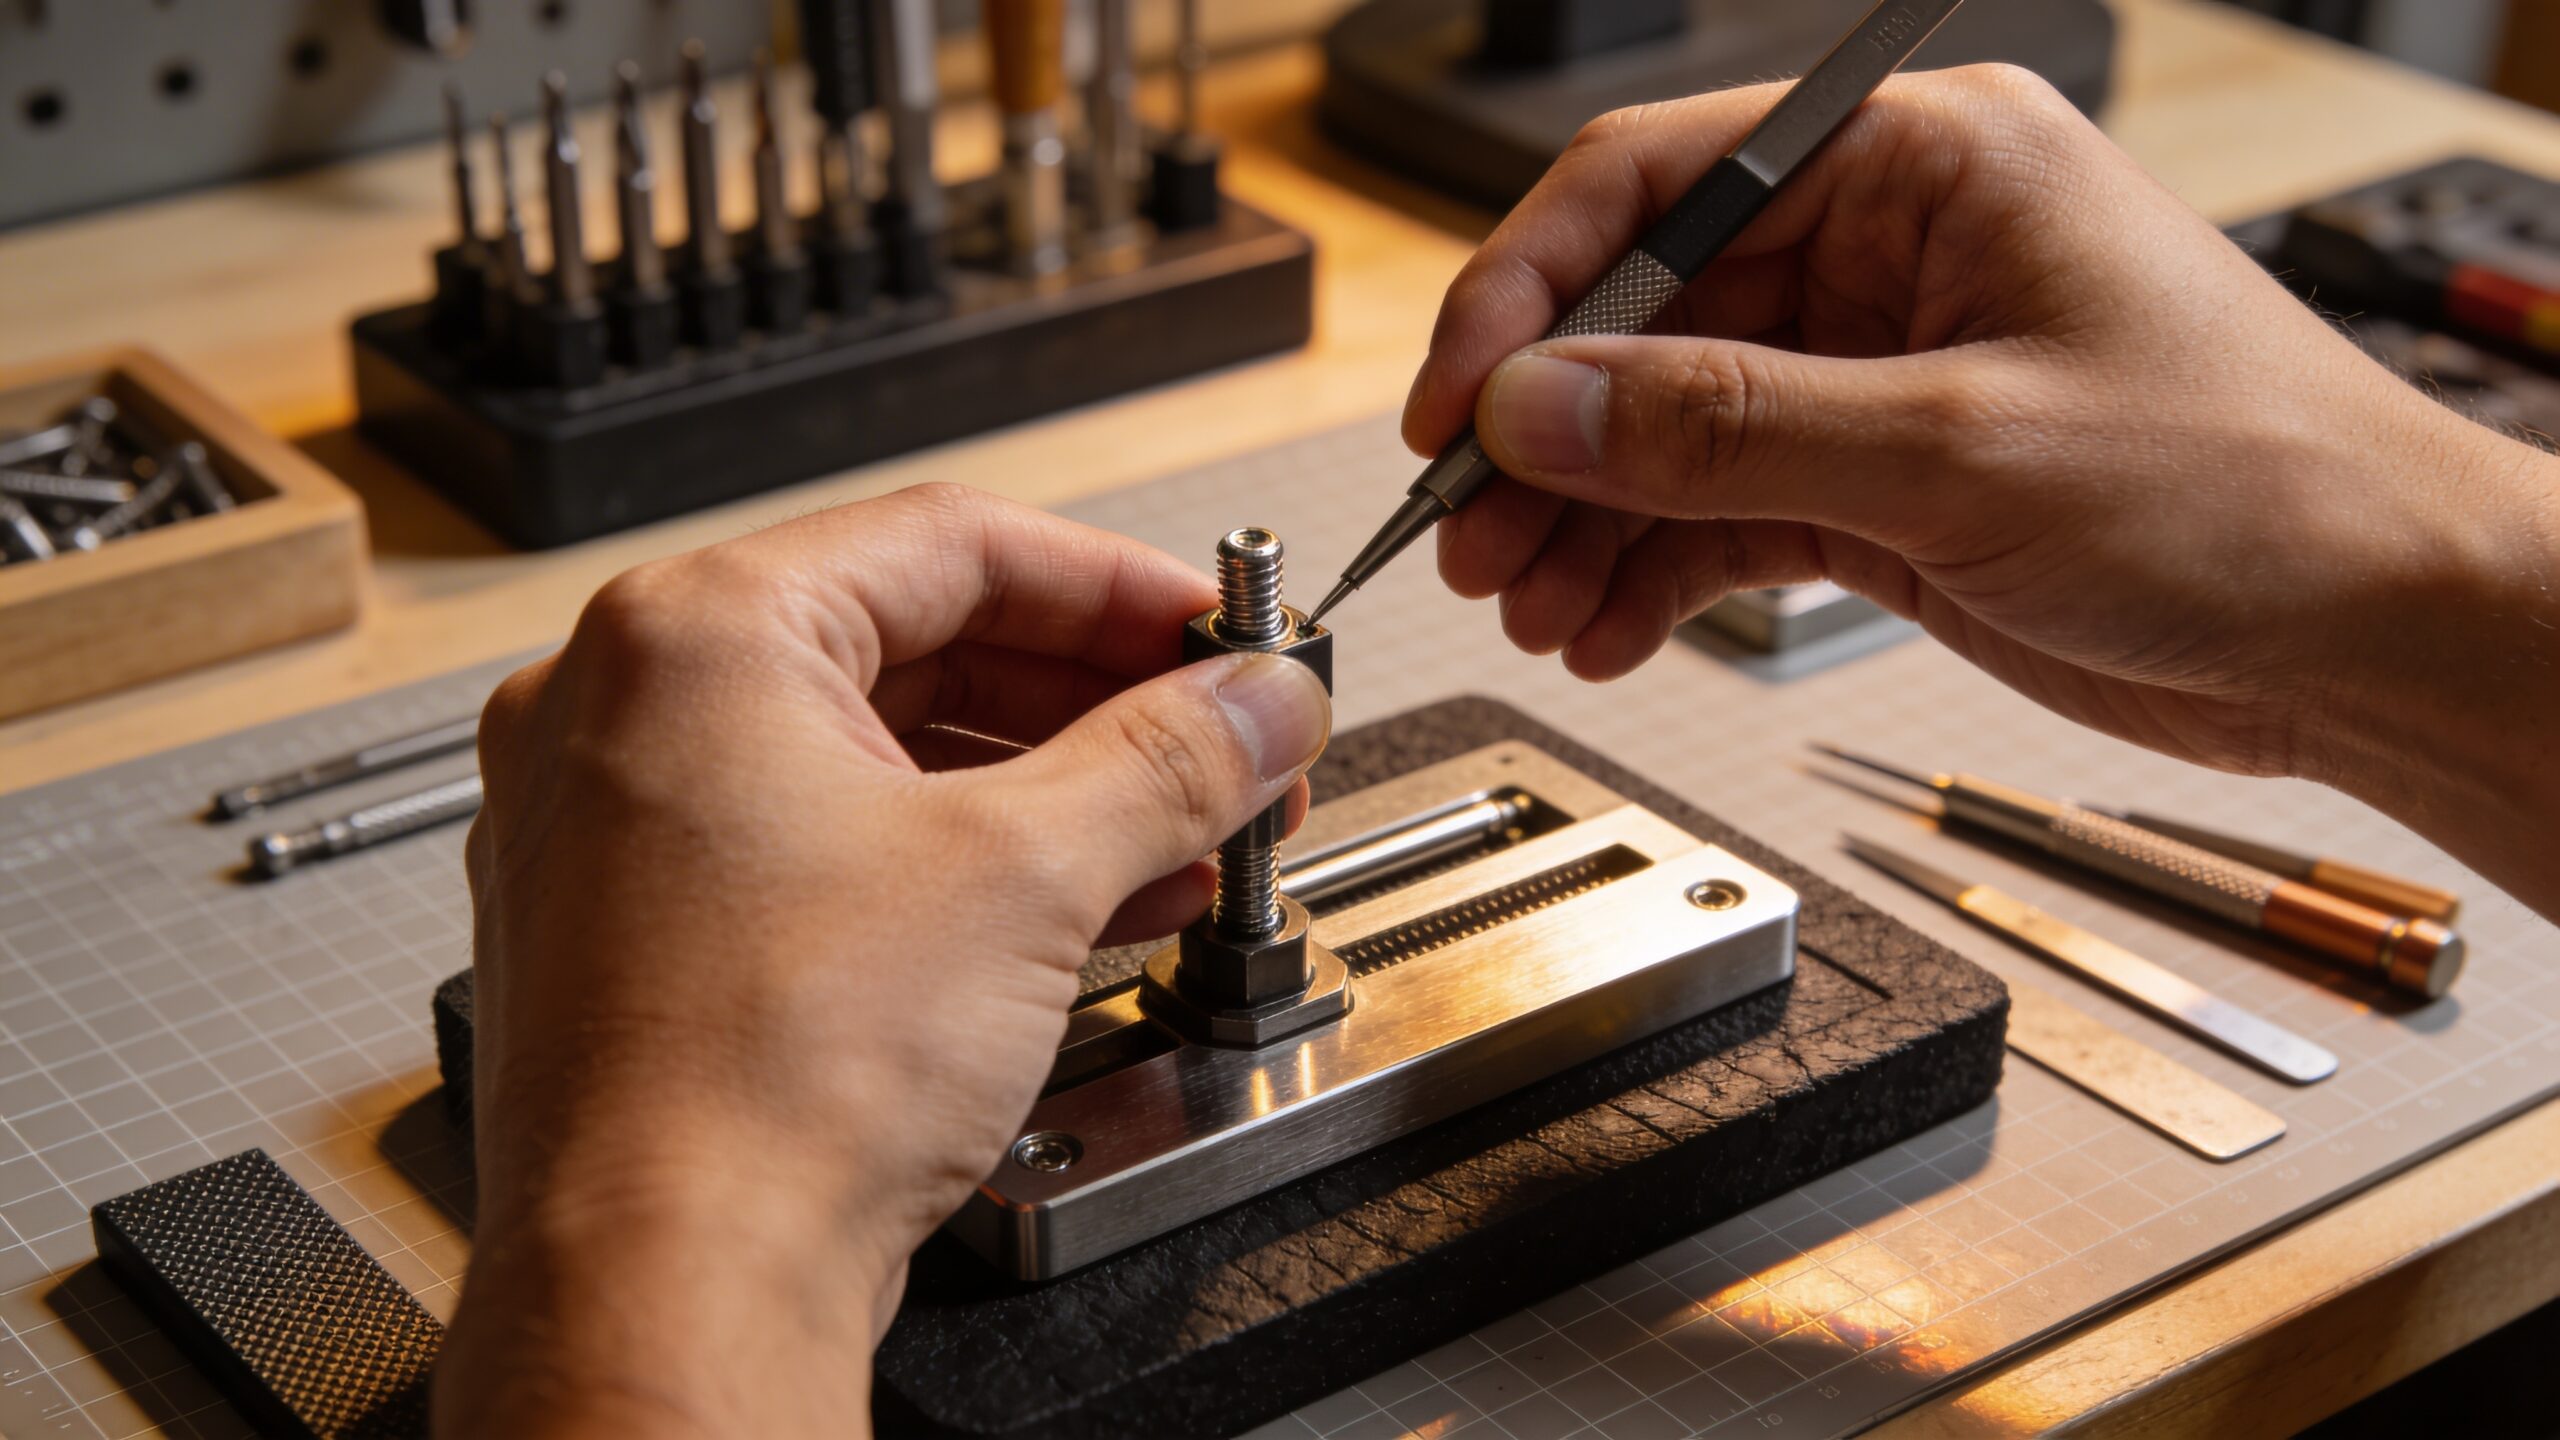
Step 5: Focus on Clean Cuts and Precise Assembly
The foundation of a professional build lies in its structural accuracy. Clean cuts create tight joints. Tight joints create strength and visual cohesion. Even small gaps or misalignments can make a project feel unfinished.
During assembly, pay attention to alignment from multiple angles. Components should sit flush, with edges meeting cleanly and consistently. Use clamps, guides, or jigs if necessary to maintain positioning while securing parts. Fasteners should be intentional and discreet. Whenever possible, align screws evenly, countersink them for a flush finish, or conceal them entirely. These small details significantly impact the overall appearance.
Step 6: Refine Surfaces for a Professional Finish
Surface preparation is where many builds either succeed or fall short. Rough edges, uneven textures, and visible tool marks immediately signal an unfinished project. Professional builds, by contrast, feel smooth and intentional.
Sanding is one of the most important steps in achieving this. Progress through finer grits to remove imperfections and create a consistent surface. Pay special attention to edges and transitions, as these areas are often the most visible.
For metal or composite materials, polishing or smoothing techniques can achieve a similar effect. The goal is always the same: eliminate distractions and create a clean, unified appearance.
Step 7: Apply Finishes That Elevate the Build
Finishing transforms a raw build into a polished product. It enhances durability while also defining the visual character of the gear. Whether applying paint, stain, oil, or protective coatings, consistency is critical.
Thin, even layers produce better results than thick, uneven applications. Allow each layer to dry fully before adding the next. Rushing this step often leads to streaks, bubbles, or inconsistent coloration. Color choice also matters. Neutral tones and subtle contrasts tend to feel more professional than overly bold or mismatched palettes. When in doubt, simplicity and consistency create a stronger impression.
Step 8: Test, Adjust, and Improve
Professional builders rarely consider a project complete without testing. Functionality and appearance go hand in hand. A piece that looks good but performs poorly will not feel truly finished.
Test the gear under realistic conditions. Look for weak points, alignment issues, or areas where movement isn’t smooth. Small adjustments at this stage can significantly improve both performance and durability.
Refinement is part of the process. Even minor tweaks—tightening connections, smoothing edges, or adjusting fit—can elevate the final result.
Step 9: Pay Attention to Small Details
What truly separates professional builds from average ones is attention to detail. Consistent spacing, aligned components, and clean transitions all contribute to a cohesive look. These elements may seem minor individually, but together they define the overall quality.
Edges should be uniform. Corners should be intentional, either sharp or smoothly rounded. Surfaces should transition cleanly between materials. Even the orientation of fasteners can affect the visual rhythm of a design. Taking the time to refine these details ensures that the final build feels deliberate rather than accidental.
Step 10: Maintain a Professional Mindset
Building professional-looking gear is as much about mindset as technique. Patience, consistency, and a willingness to refine your work are essential. Rushing leads to mistakes. Careful execution leads to quality.
Each project is an opportunity to improve. Over time, you develop an eye for proportion, alignment, and finish quality. What once required deliberate effort becomes second nature.
Professional results are not achieved in a single build. They are the result of repeated practice, thoughtful planning, and a commitment to craftsmanship.
From DIY to Professional Craftsmanship
Creating custom gear that looks professional is a process built on clarity, precision, and attention to detail. By focusing on purpose, planning, materials, execution, and finishing, you can transform simple ideas into polished, high-quality builds.
The key is not complexity, but consistency. Clean lines, balanced design, and careful execution will always stand out more than unnecessary features. With each project, your skills grow, and your results become more refined. Professional craftsmanship is not reserved for experts. It is built step by step, with each decision contributing to a final result that looks intentional, durable, and truly complete.