Custom gear builds sit at the intersection of creativity, engineering, and hands-on craftsmanship. They appeal to makers, designers, hobbyists, and professionals because they offer something mass-produced products often cannot: personality, purpose, and precision tailored to a specific vision. Whether the goal is to create a rugged functional piece, a refined display-worthy project, or a practical solution built around exact needs, custom gear building transforms ideas into physical results that feel deeply intentional. The appeal goes far beyond simply making something with your hands. A great custom build tells a story. It reflects the choices made at every stage, from the first sketch to the final finish. Materials, shape, weight, texture, and assembly all contribute to a result that feels unique and complete. That is why the best custom gear builds do not look improvised. They look considered, deliberate, and professionally executed. This guide explores the complete journey from concept to completion. It covers the mindset, planning, design decisions, materials, tools, fabrication process, finishing strategies, troubleshooting, and final refinements that help a build move from an exciting idea to a polished end product. Whether you are new to custom gear or trying to elevate your process, understanding the full workflow is the fastest way to build with more confidence and better results.
A: Define the build’s purpose, use case, and visual direction before anything else.
A: No. Careful planning, precision, and patience matter more than tool price.
A: Clean lines, strong proportions, tight assembly, smooth surfaces, and a consistent finish.
A: Very important. Materials affect performance, appearance, weight, and how the project finishes.
A: It reveals alignment or sizing problems before permanent assembly makes them harder to fix.
A: Surface preparation, because it has a huge impact on the final appearance.
A: Start with function, then refine the appearance so both work together.
A: Keep the concept focused and remove features that do not clearly improve the build.
A: Use a finish that matches the material, the use case, and the look you want.
A: Review each project, note what worked, and apply those lessons to the next build.
Why Custom Gear Builds Matter
Custom gear building matters because it gives control back to the builder. Instead of adapting your needs to whatever the market offers, you shape the design around function, style, and specific use cases. That freedom can be practical, artistic, or both. A builder may want better ergonomics, lighter weight, improved durability, a more premium finish, or simply a one-of-a-kind look. Custom work makes all of that possible.
There is also a deeper satisfaction in building something that performs well and looks professional. The process teaches problem-solving, patience, material awareness, and design discipline. Over time, those lessons compound. Each project improves the next one. What begins as experimentation gradually develops into a repeatable method and a recognizable standard of quality. That progression is part of what makes the craft so compelling.
Start With a Clear Concept
Every successful build begins with clarity. The concept stage is where broad excitement becomes a real project. This is the moment to define what the gear is supposed to do, who it is for, how it will be used, and what kind of impression it should make. Without that clarity, builds often become unfocused. They collect features that do not belong together, or they drift between styles and priorities until the final result feels confused.
A clear concept answers several important questions. Should the build prioritize rugged utility or refined appearance? Does it need to be compact, modular, lightweight, weather-resistant, or visually bold? Will it be used frequently, transported often, or mostly displayed? The answers guide every later decision. When builders skip this stage, they often pay for it with rework, wasted materials, and a weaker final outcome.
A strong concept also includes visual direction. This does not require advanced illustration skills. It simply means understanding the general character of the build. Maybe the project should feel clean and minimal, industrial and durable, or premium and modern. These style cues help you make more consistent decisions once the physical work begins.
Turn Ideas Into a Real Plan
Once the concept is clear, the next step is planning. This is where imagination becomes structure. Sketches, measurements, proportions, material notes, and build order all start to take shape. Many projects fail not because the idea was weak, but because the plan was incomplete. Good planning reduces guesswork and helps avoid preventable mistakes.
A professional-looking build usually comes from a design that has been simplified, refined, and organized before the first cut. This is the time to think about part relationships, connection points, clearances, hardware placement, and how the build will come together physically. If something looks difficult to assemble on paper, it will usually be worse in the workshop. Planning also helps reveal whether the design is balanced. Good proportions matter more than many builders expect. A piece can be technically sound and still feel visually awkward if it is too bulky in one area, too busy in another, or inconsistent in how elements are spaced. Clean, intentional proportions are one of the clearest signs of professional design.
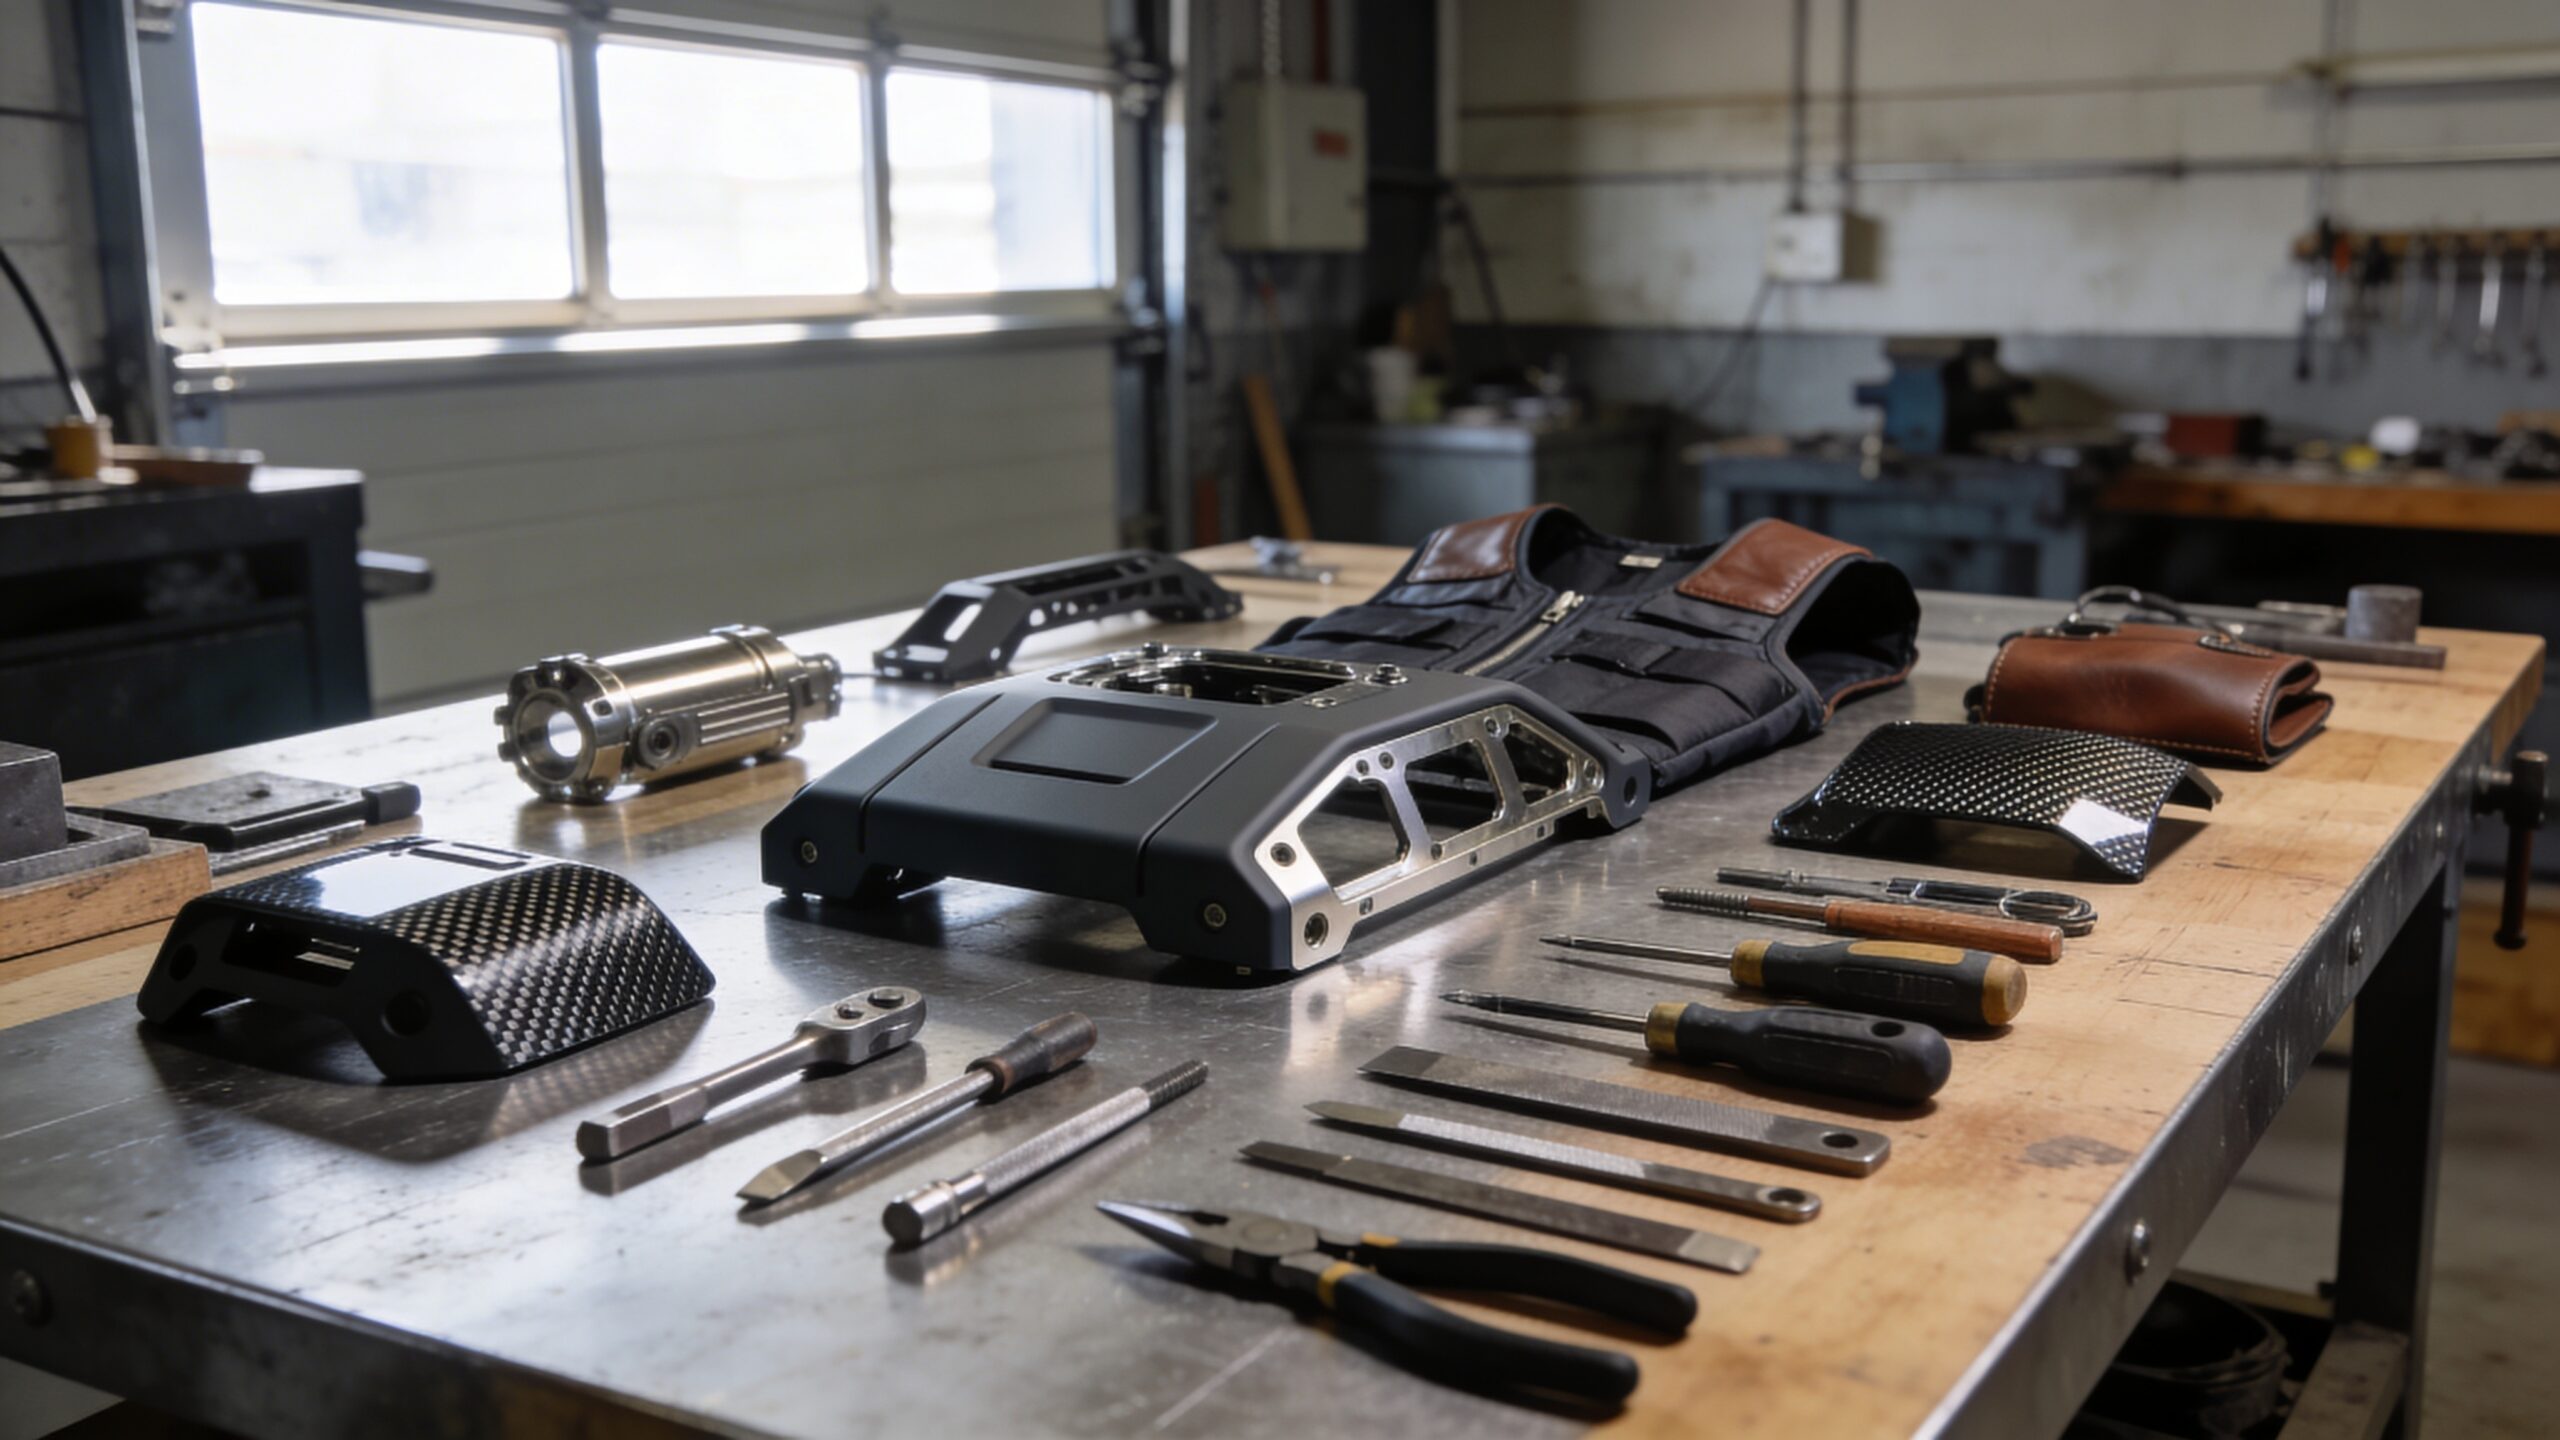
Choosing the Right Materials
Materials shape both the performance and the personality of a build. They determine weight, strength, finish quality, workability, and visual tone. Selecting the right material is not only about choosing the strongest option. It is about choosing what best fits the purpose of the project and the tools available to you.
Wood offers warmth, versatility, and a classic handcrafted feel. It is forgiving in many builds and can be shaped, sanded, stained, or painted in ways that produce rich results. Metal offers durability, precision, and a more industrial appearance. It communicates strength and permanence, but often demands tighter tolerances and more controlled fabrication. Plastics and composites can create lightweight, modern builds with clean surfaces and excellent repeatability when handled well.
The most important thing is cohesion. Professional-looking custom gear rarely feels random. Materials should work together visually and functionally. When combining materials, think about how texture, color, thickness, and finish interact. A build feels more complete when those relationships look intentional rather than accidental.
Build Around Function First
A common mistake in custom gear design is prioritizing appearance at the expense of real-world use. Great gear should look good, but it should also work smoothly, feel balanced, and hold up under actual conditions. Professional builders understand that function and appearance are not competing goals. They support each other when the design is handled thoughtfully.
A functional build takes user interaction seriously. It considers grip, handling, access, movement, weight distribution, and comfort. It anticipates stress points and wear areas. It thinks about how the piece will be opened, carried, adjusted, stored, or maintained. When these decisions are made well, the build feels intuitive. That intuitive quality often reads as professional because the object feels resolved. Function-first design also prevents decorative decisions from becoming liabilities. Sharp corners, poor hardware placement, awkward transitions, or visually dramatic features that weaken structure can make a project less usable. Good custom gear earns its style through smart design, not by sacrificing performance for visual novelty.
Set Up a Better Workflow
Even talented builders can undermine a project with a sloppy workflow. The condition of the workspace, the order of operations, and the level of organization all affect build quality. A clean, stable, well-lit workspace supports accuracy. It reduces small mistakes that accumulate over time and makes it easier to stay focused during detail work.
A smart workflow breaks the project into stages. Marking, cutting, test-fitting, assembly, sanding, finishing, and final inspection should each have their own pace and purpose. Trying to combine too many stages at once leads to rushed decisions and overlooked flaws. One of the easiest ways to make a build look better is simply to slow the process down and give each phase the attention it deserves.
Consistency matters as much as speed. Repeating the same measuring habits, checking alignment often, and maintaining tool control produce cleaner results than trying to push through quickly. Professional work often looks calm because it was built with calm, methodical decisions.
Precision in Cutting and Assembly
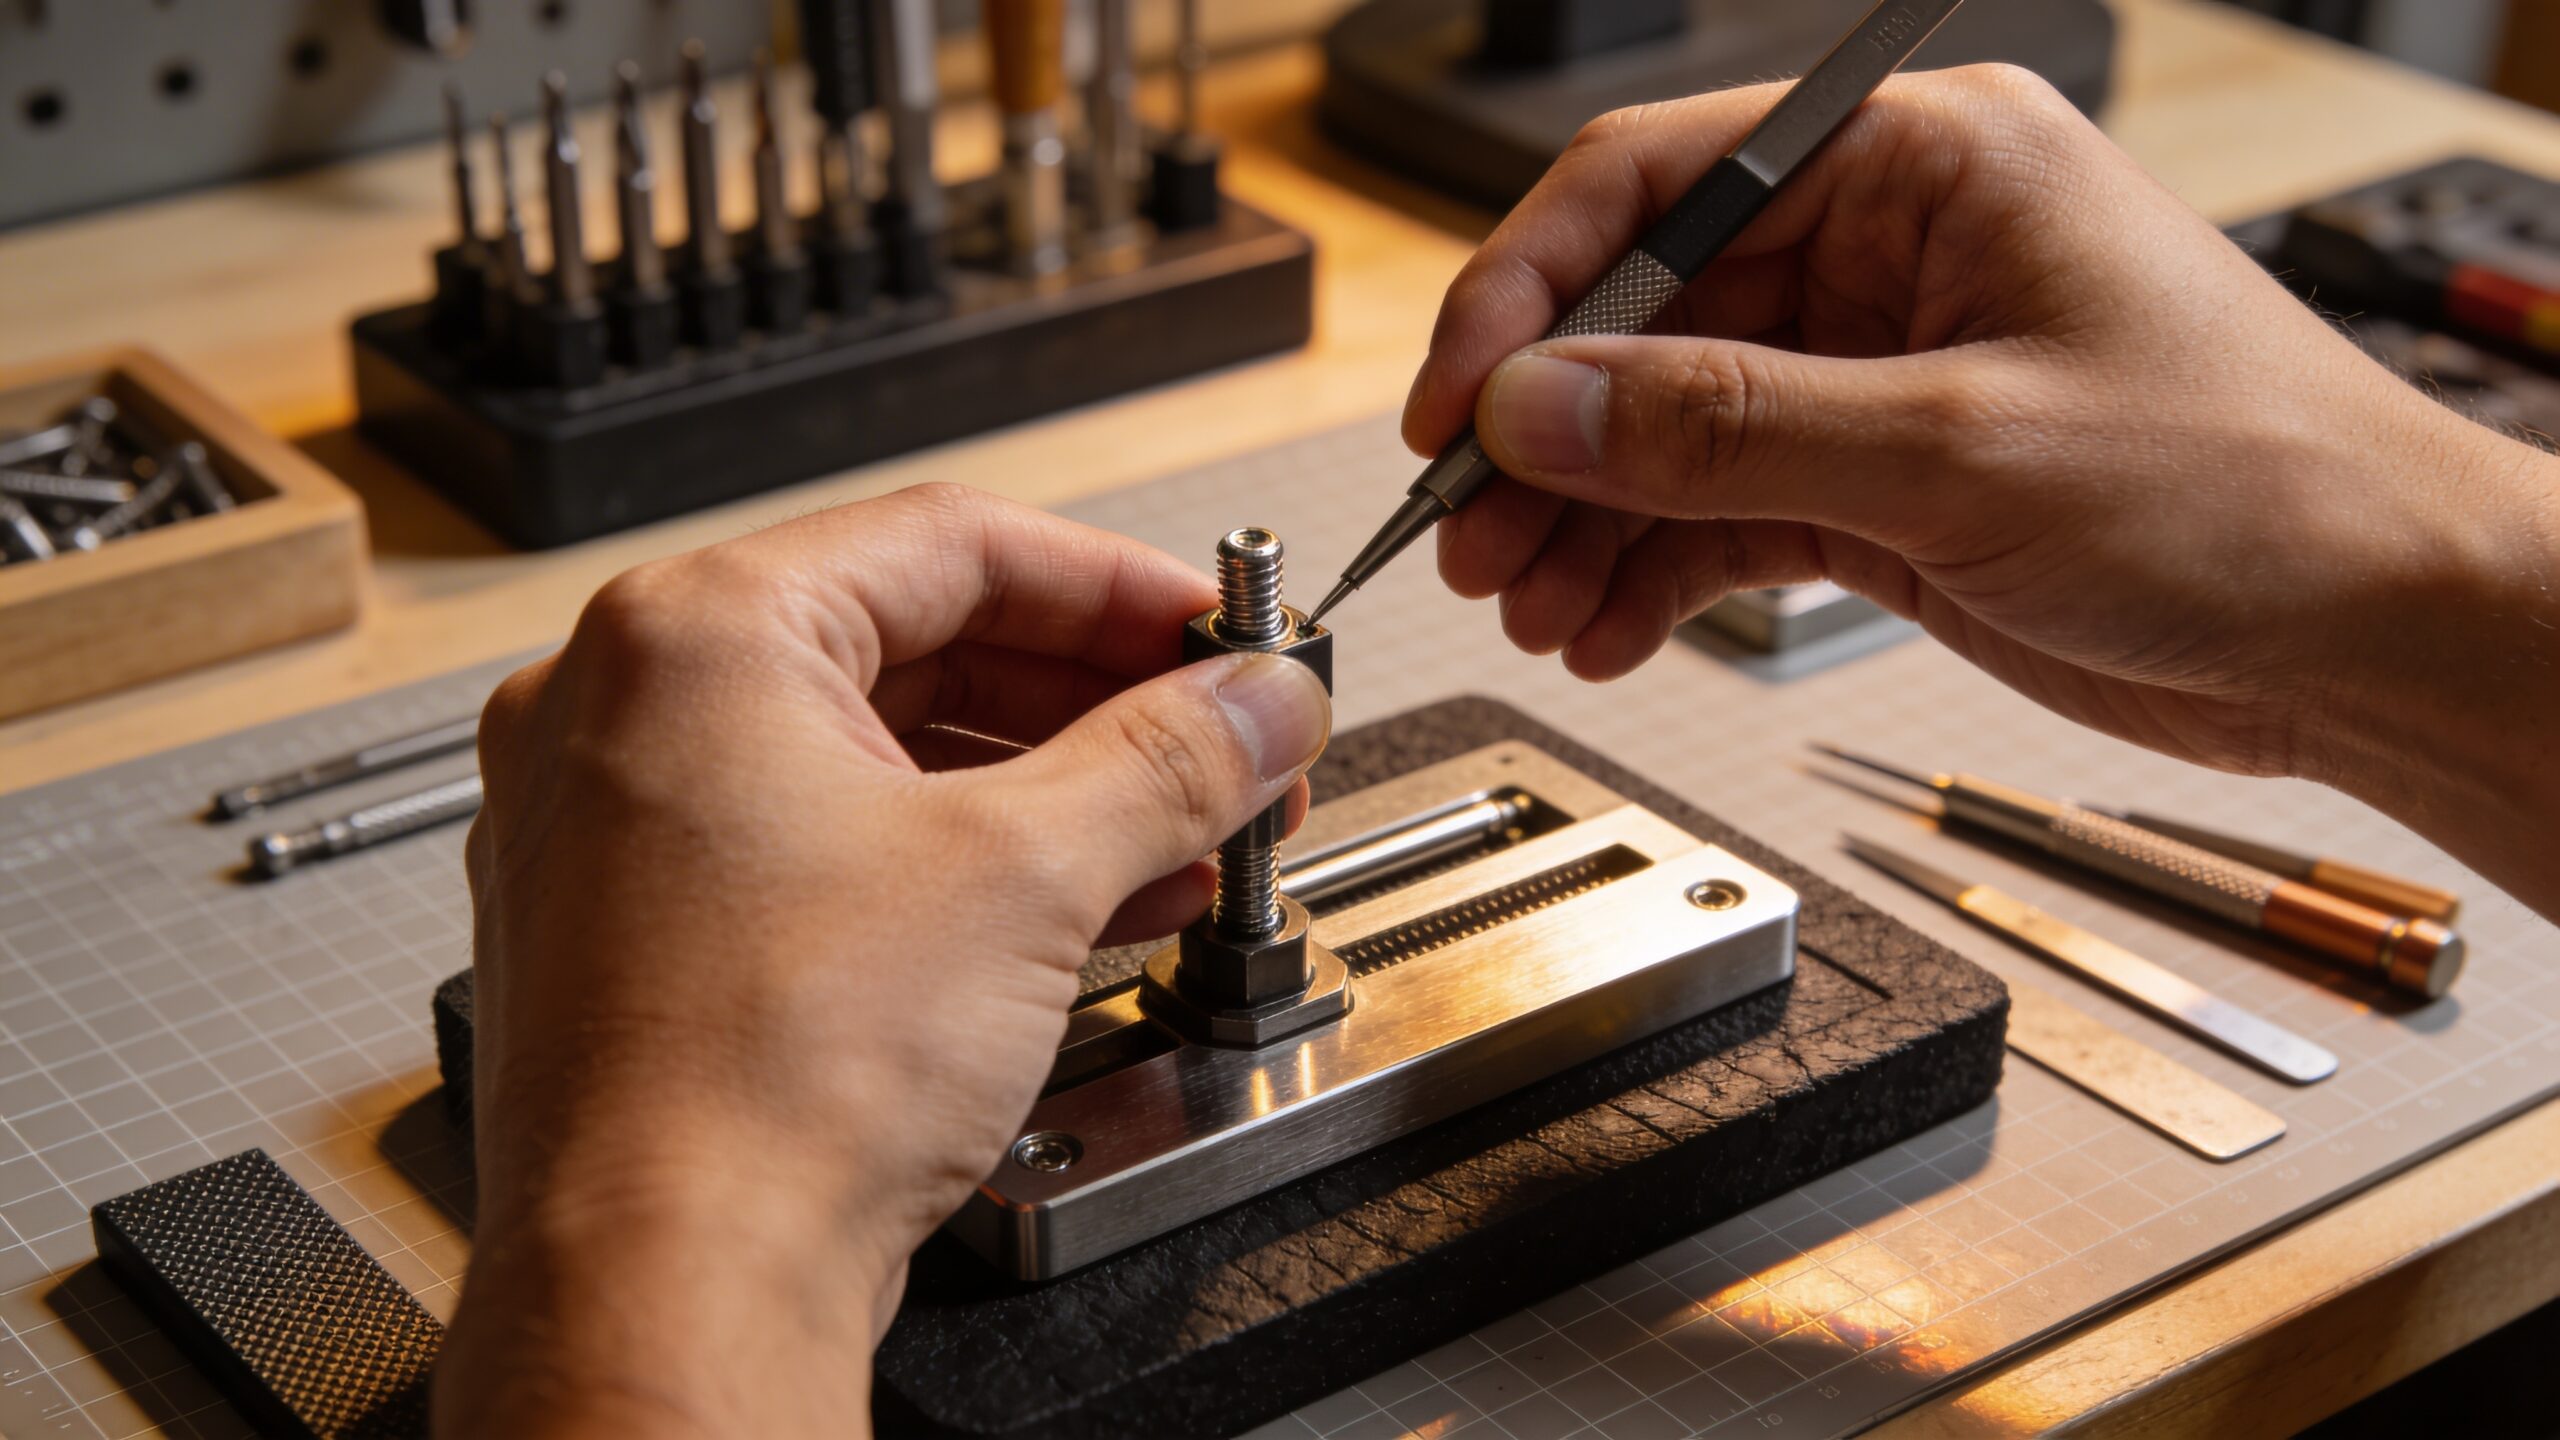
The quality of cuts and joints has an enormous impact on how polished the final project looks. Even an excellent design can feel amateur if gaps are visible, edges are uneven, or surfaces do not sit flush. Precision begins long before assembly. It starts with careful marking, stable support, sharp tools, and a willingness to redo a step if accuracy slips.
Assembly is where the build either comes together or reveals its weaknesses. This stage rewards patience. Components should be checked from multiple angles before they are secured permanently. Alignment should be tested, not assumed. When possible, fasteners should be placed with symmetry and purpose. Visible screws or hardware are not necessarily a flaw, but they should look intentional and consistent. Test fitting is one of the most underrated habits in custom work. Before committing with glue, hardware, or permanent fastening, temporarily assemble parts and study the fit. This reveals small issues early enough to correct them cleanly. Builders who skip test fitting often discover problems only after the project is harder to fix.
Surface Refinement Changes Everything
Surface refinement is where custom gear begins to look truly professional. Rough tool marks, chipped edges, inconsistent curves, and poorly blended transitions immediately make a project feel unfinished. By contrast, smooth surfaces and crisp details make even a simple build feel premium.
Sanding is a major part of this transformation. It is not glamorous, but it is one of the clearest dividing lines between rough builds and refined ones. Sanding removes inconsistencies, softens unwanted harshness, and prepares the surface to accept finish evenly. The difference between stopping early and finishing thoroughly is often visible the moment light hits the surface.
Refinement also includes edge treatment. Some builds look best with sharp, precise lines. Others benefit from subtle rounding that improves both comfort and appearance. Either way, the edge treatment should be consistent throughout the build. When one area feels deliberate and another feels neglected, the overall impression suffers.
Finishing for a Professional Look
Finishing is not just the last step. It is part of the design language of the build. The finish defines how the piece reflects light, how it feels in the hand, how well it resists wear, and how cohesive the materials appear together. A strong finish can elevate modest materials. A poor finish can ruin excellent fabrication.
Paint, stain, oil, wax, clear coat, and specialized coatings all create different effects. The best choice depends on the material, the use case, and the desired appearance. Regardless of method, a professional finish usually comes from thin, controlled applications and proper curing time. Rushing the process produces drips, uneven sheen, trapped dust, and obvious flaws. Color discipline matters too. Many polished builds rely on restrained palettes. Neutral tones, subtle contrasts, and one or two accent materials often look more sophisticated than trying to force too many colors into one project. Professional builds usually feel unified because the finish strategy was intentional from the beginning.
Troubleshooting and Mid-Build Adjustments
No custom build goes perfectly from start to finish. Small problems emerge. Parts fit slightly off. A surface reacts differently than expected. A design choice that looked good in theory feels awkward in reality. The difference between average and advanced builders is not the absence of problems. It is the ability to diagnose and adjust without losing control of the project.
When something goes wrong, the best response is usually to pause and evaluate rather than push forward. Trying to bury a flaw under later steps often makes the issue worse. Clean corrections are part of the craft. Sometimes the fix is structural, such as remaking a part or adjusting a joint. Sometimes it is aesthetic, such as refining an edge, changing a finish, or simplifying a detail that feels overcrowded.
A builder who can adapt while protecting the integrity of the concept is already working at a higher level. Professional-looking results often come from thoughtful course corrections made at the right time.
Testing the Final Build
Completion is not just about appearance. It is about proving that the build performs as intended. Testing is what confirms whether the concept survived the journey into reality. A piece should be inspected for strength, stability, movement, comfort, fit, and finish durability. It should be handled the way it will actually be used.
Testing often reveals small refinements that dramatically improve the final result. Maybe an edge needs to be eased slightly. Maybe a fastener should be tightened or repositioned. Maybe the finish needs one more light pass in an area that catches the eye. These final adjustments matter because they are often the difference between a build that seems done and one that feels complete. A well-tested project inspires more confidence, not only in the finished piece but in the builder. It closes the loop between concept, execution, and real-world performance.
From One Build to a Better Process
One of the most valuable parts of custom gear building is how each project teaches the next one. Over time, builders begin to see patterns. They recognize which design choices work, which materials behave best, where mistakes usually happen, and which refinements create the biggest visual improvement. That growing awareness turns isolated projects into a real craft practice.
Documenting your builds can help accelerate that growth. Notes, sketches, photos, and observations create a personal reference library. They make it easier to repeat successes and avoid past mistakes. The goal is not perfection on the first attempt. The goal is steady improvement through repetition, reflection, and better decision-making.
Professional results are usually the product of process, not luck. Once your workflow becomes stronger, your projects begin to reflect that strength consistently.
Final Thoughts
The ultimate guide to custom gear builds is really a guide to intentional craftsmanship. From concept to completion, every stage matters. Clear ideas lead to smarter plans. Smart plans support better material choices. Good materials reward precise fabrication. Precision creates cleaner assembly. Clean assembly makes refinement and finishing more effective. Each step builds on the last until the final project feels cohesive, durable, and professionally resolved.
What makes custom gear so exciting is that it blends imagination with discipline. It allows builders to solve problems, express style, and create objects that feel personal in a way off-the-shelf products rarely can. The best results do not come from rushing or overcomplicating the process. They come from clear purpose, careful execution, and attention to detail all the way through. Whether you are building your first custom piece or trying to elevate the quality of your work, the path is the same. Think clearly, build carefully, refine relentlessly, and finish with intention. That is how an idea becomes custom gear worth being proud of.