Why Your First Hunt Feels Big—Because It Is
A first big game hunt is more than a trip. It’s a turning point. It’s the moment when watching hunting videos and reading gear lists stops being entertainment and starts becoming a real plan with real consequences. The first time you shoulder a pack at a trailhead in the dark, or hear an animal move in the timber before dawn, your brain will run a little hot. That’s normal. Big game hunting asks you to navigate wilderness, weather, rules, and ethics while making decisions under pressure. The good news is that the “secret” to a great first hunt isn’t secret at all. It’s planning. A professional-level hunt plan doesn’t require expensive gear or lifelong experience. It requires clear goals, a realistic unit choice, solid logistics, and a simple strategy you can execute when you’re tired. This guide breaks your first big game hunt into practical steps so you can build momentum, avoid common mistakes, and show up on opening morning ready to hunt instead of hoping.
A: Start months ahead so you have time for scouting, practice, and gear testing.
A: You can, but a partner can help with safety, decisions, and pack-out logistics.
A: Focus on fresh sign first—distance matters less than hunting where animals are.
A: A simple plan: glass early, hunt bedding edges midday, glass again late.
A: Shift to a new zone using your decision points—avoid staying “hopeful” in dead areas.
A: Bringing too much and not testing essentials like boots, pack, and layers.
A: Use the distance you can hit consistently from field positions, not benchrest.
A: Both are valuable, but dawn and dusk reveal feeding movement best.
A: Meat care—cool it quickly, keep it clean, and plan your pack-out.
A: Track small wins—fresh sign found, good stalks, improved shooting—progress compounds.
Step 1: Choose Your Species Based on Reality, Not Fantasy
The fastest way to sabotage your first hunt is to pick a species and location that doesn’t match your time, budget, fitness, and learning curve. Your “dream animal” is a great long-term goal, but your first season should focus on building experience and confidence. If you have limited time, choosing a hunt closer to home can be smarter than traveling across multiple states and learning a completely new landscape under the gun.
Start by asking what you want from your first hunt. Do you want the highest chance to see animals? Do you want a wilderness adventure even if success is unlikely? Do you want meat for the freezer above all else? Beginners often do best with a plan that prioritizes opportunity and learning. Seeing more animals teaches you more than hiking miles through empty country. If you choose a species with strong populations in accessible terrain, your first hunt becomes a classroom instead of a gamble.
Step 2: Understand Tags, Seasons, and the Legal Framework
Before you buy a single piece of gear, you need to understand the legal structure of the hunt. Big game hunting is regulated by species, unit, weapon type, and season dates. Some opportunities are over-the-counter, while others require draws, preference points, or special permits. Knowing this early helps you set realistic expectations and prevents you from planning a hunt you can’t actually hunt. Spend time reading the rules for your state and the unit you’re considering. The goal isn’t to memorize every line—it’s to understand the big pieces: legal weapons, blaze requirements, season dates, shooting hours, tagging procedures, and any transport rules for meat or carcasses. Many states also have regulations related to disease management, carcass disposal, and what parts can cross state lines. If you learn these details early, you prevent the panic of discovering them halfway through a successful harvest.
Step 3: Pick a Hunt Area With a Beginner-Friendly Win Condition
A smart first hunt has a “win condition” that you can achieve even without punching a tag. The win condition might be scouting effectively, locating fresh sign, seeing animals, or executing a clean stalk. When your only definition of success is harvesting an animal, your first hunt becomes emotionally volatile. When your success includes learning and progress, the hunt stays motivating.
Choose an area where you can hunt effectively with your current skill set. If you’re new to navigation and backcountry camping, you might start with a spot that allows day hunting from a base camp or vehicle access. If you have experience hiking and camping, you can push deeper. Either way, try to avoid areas famous for extreme pressure or extremely low success unless you specifically want that challenge.
A beginner-friendly unit often has a mix of terrain types—timber, meadows, ridge systems, and water—so you can adapt based on weather and animal movement. It also helps to choose areas where access is clear and where you can build backup plans without needing to drive for hours.
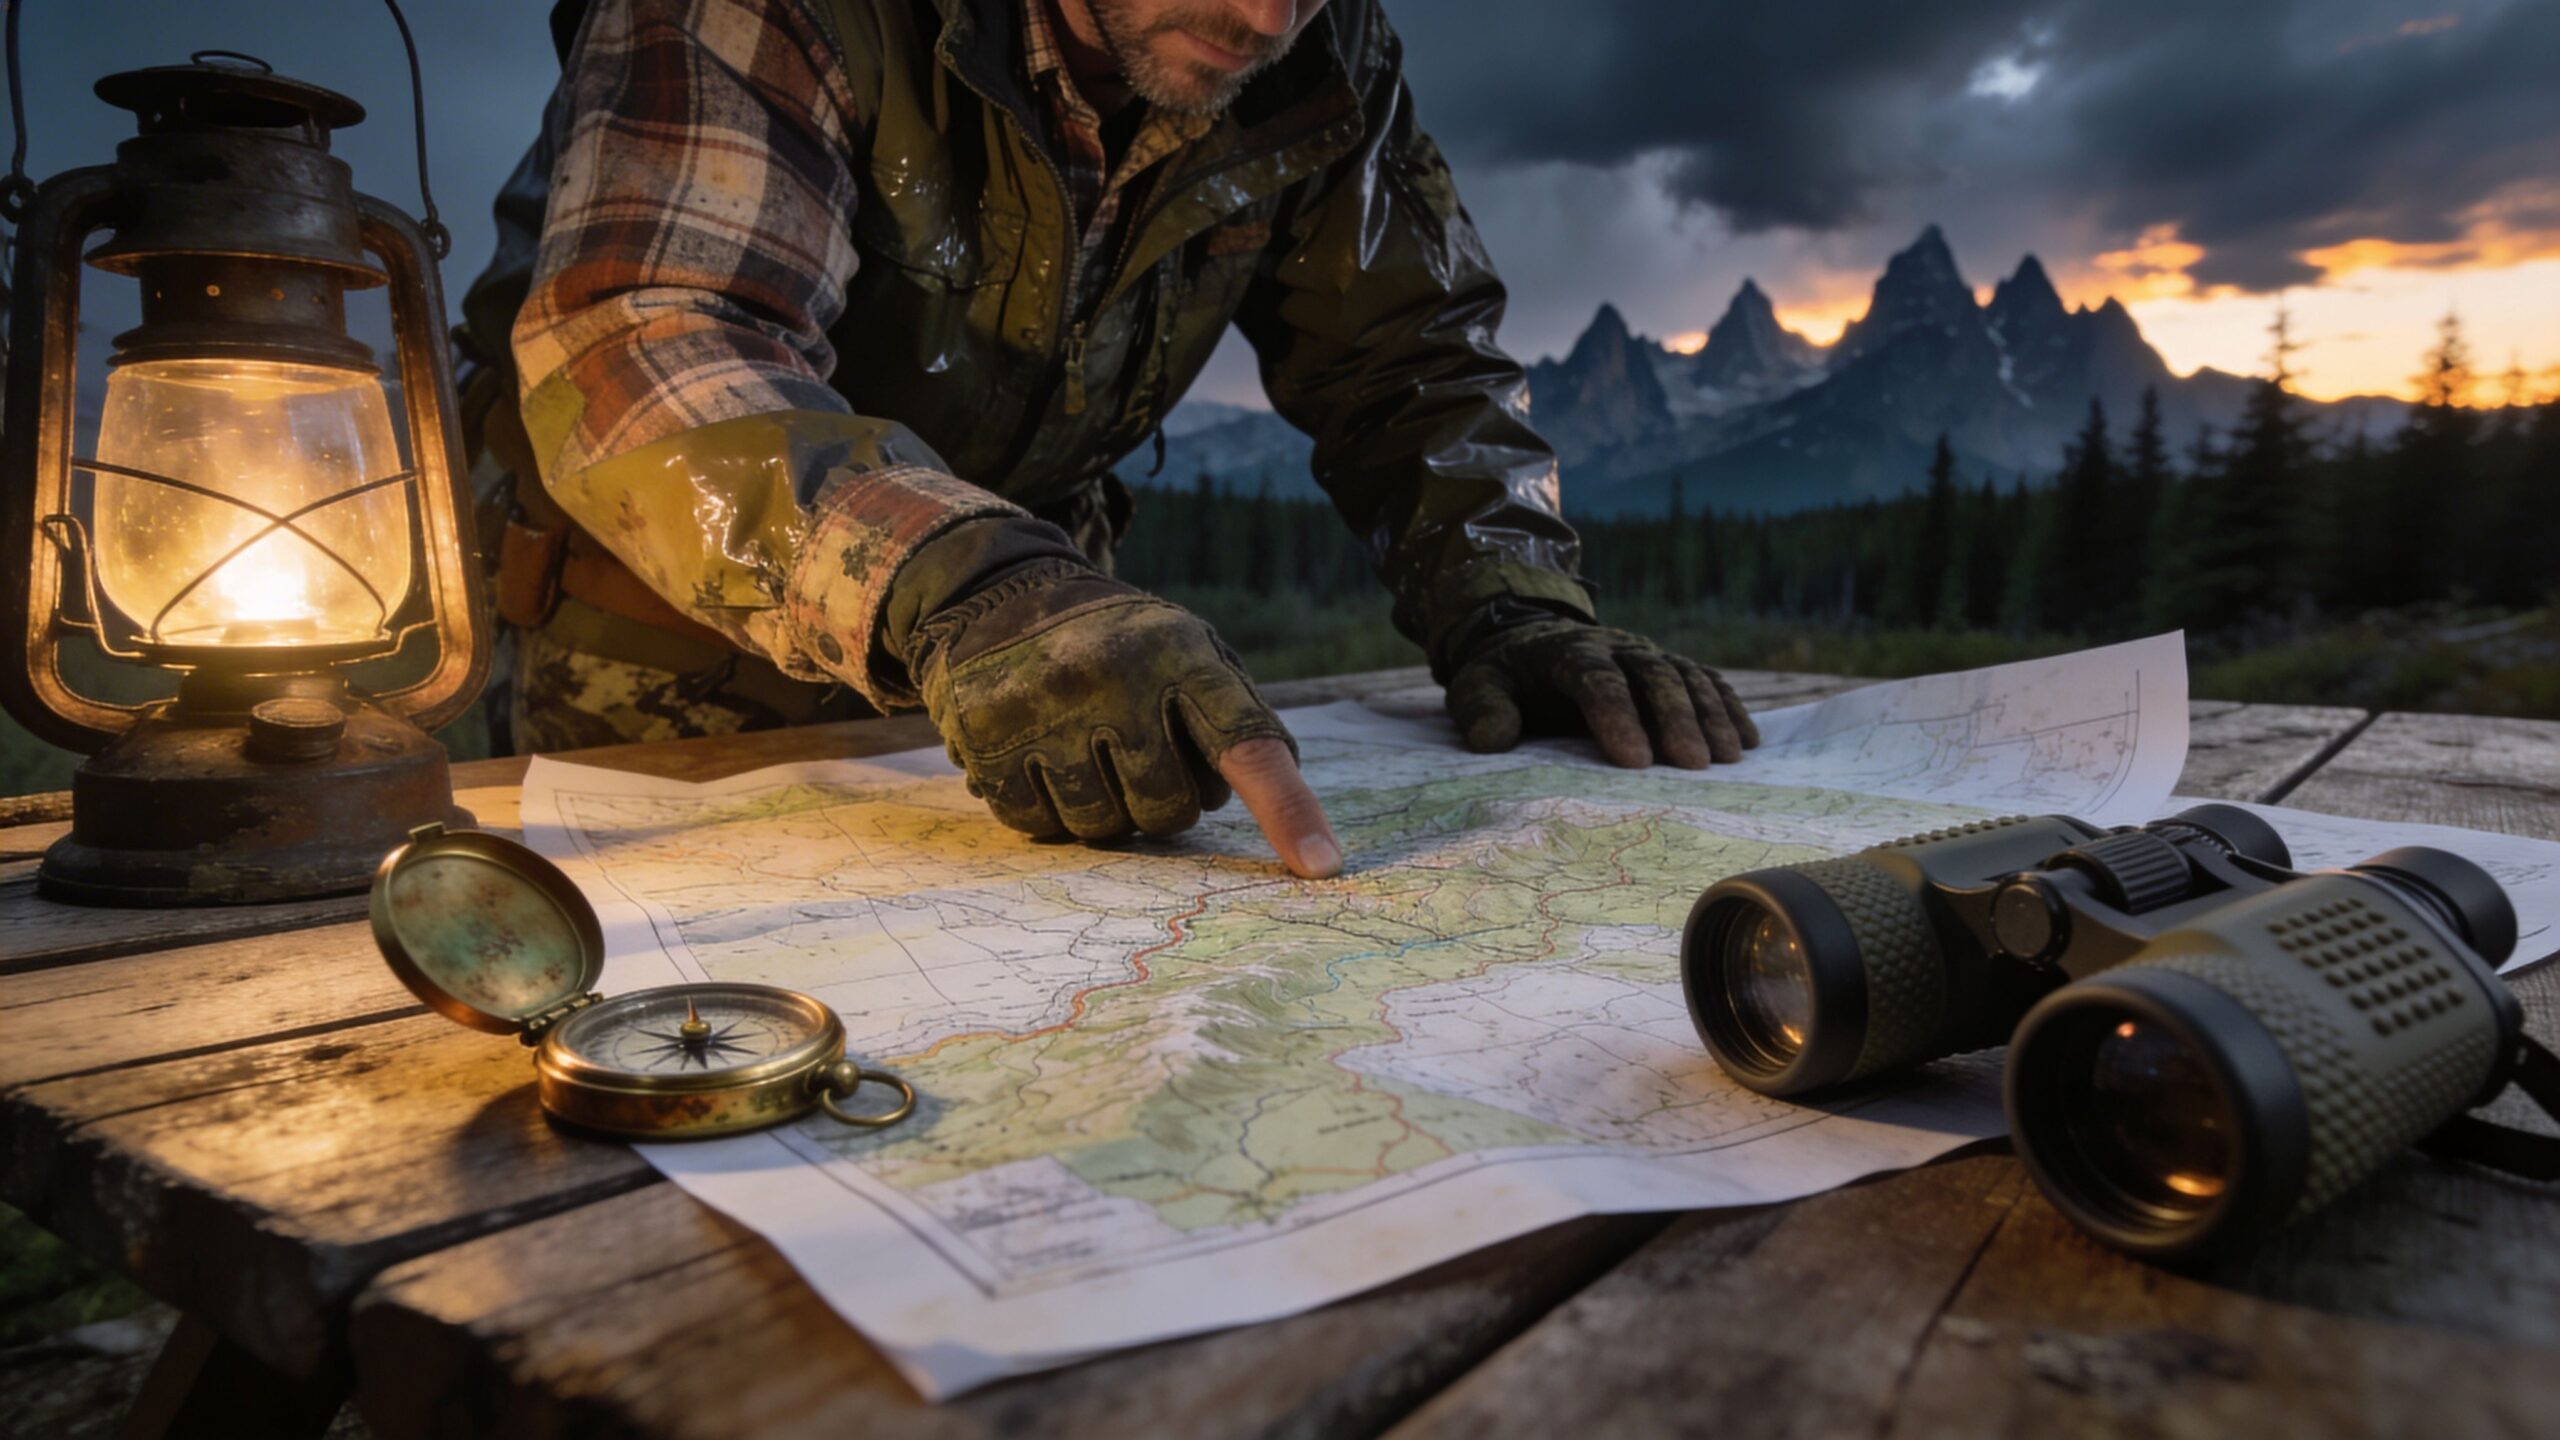
Step 4: Build Your Timeline Backward From Opening Day
Planning becomes effortless when you build a timeline. Start with opening day and work backward. Your timeline should include time for scouting, time for shooting practice, time for gear testing, and time for logistics like travel and camp setup. Beginners often underestimate how long “small tasks” take, like confirming your rifle’s zero, breaking in boots, testing a backpack, or learning your mapping app.
A strong first-hunt timeline includes at least one weekend devoted to pre-season scouting if possible. If you can’t scout in person, use digital scouting and then arrive early enough to scout before the season begins. Many first hunts are won or lost in the first 24 hours based on whether you can locate fresh sign and identify where animals are feeding and bedding.
Step 5: Learn the Terrain Before You Step Into It
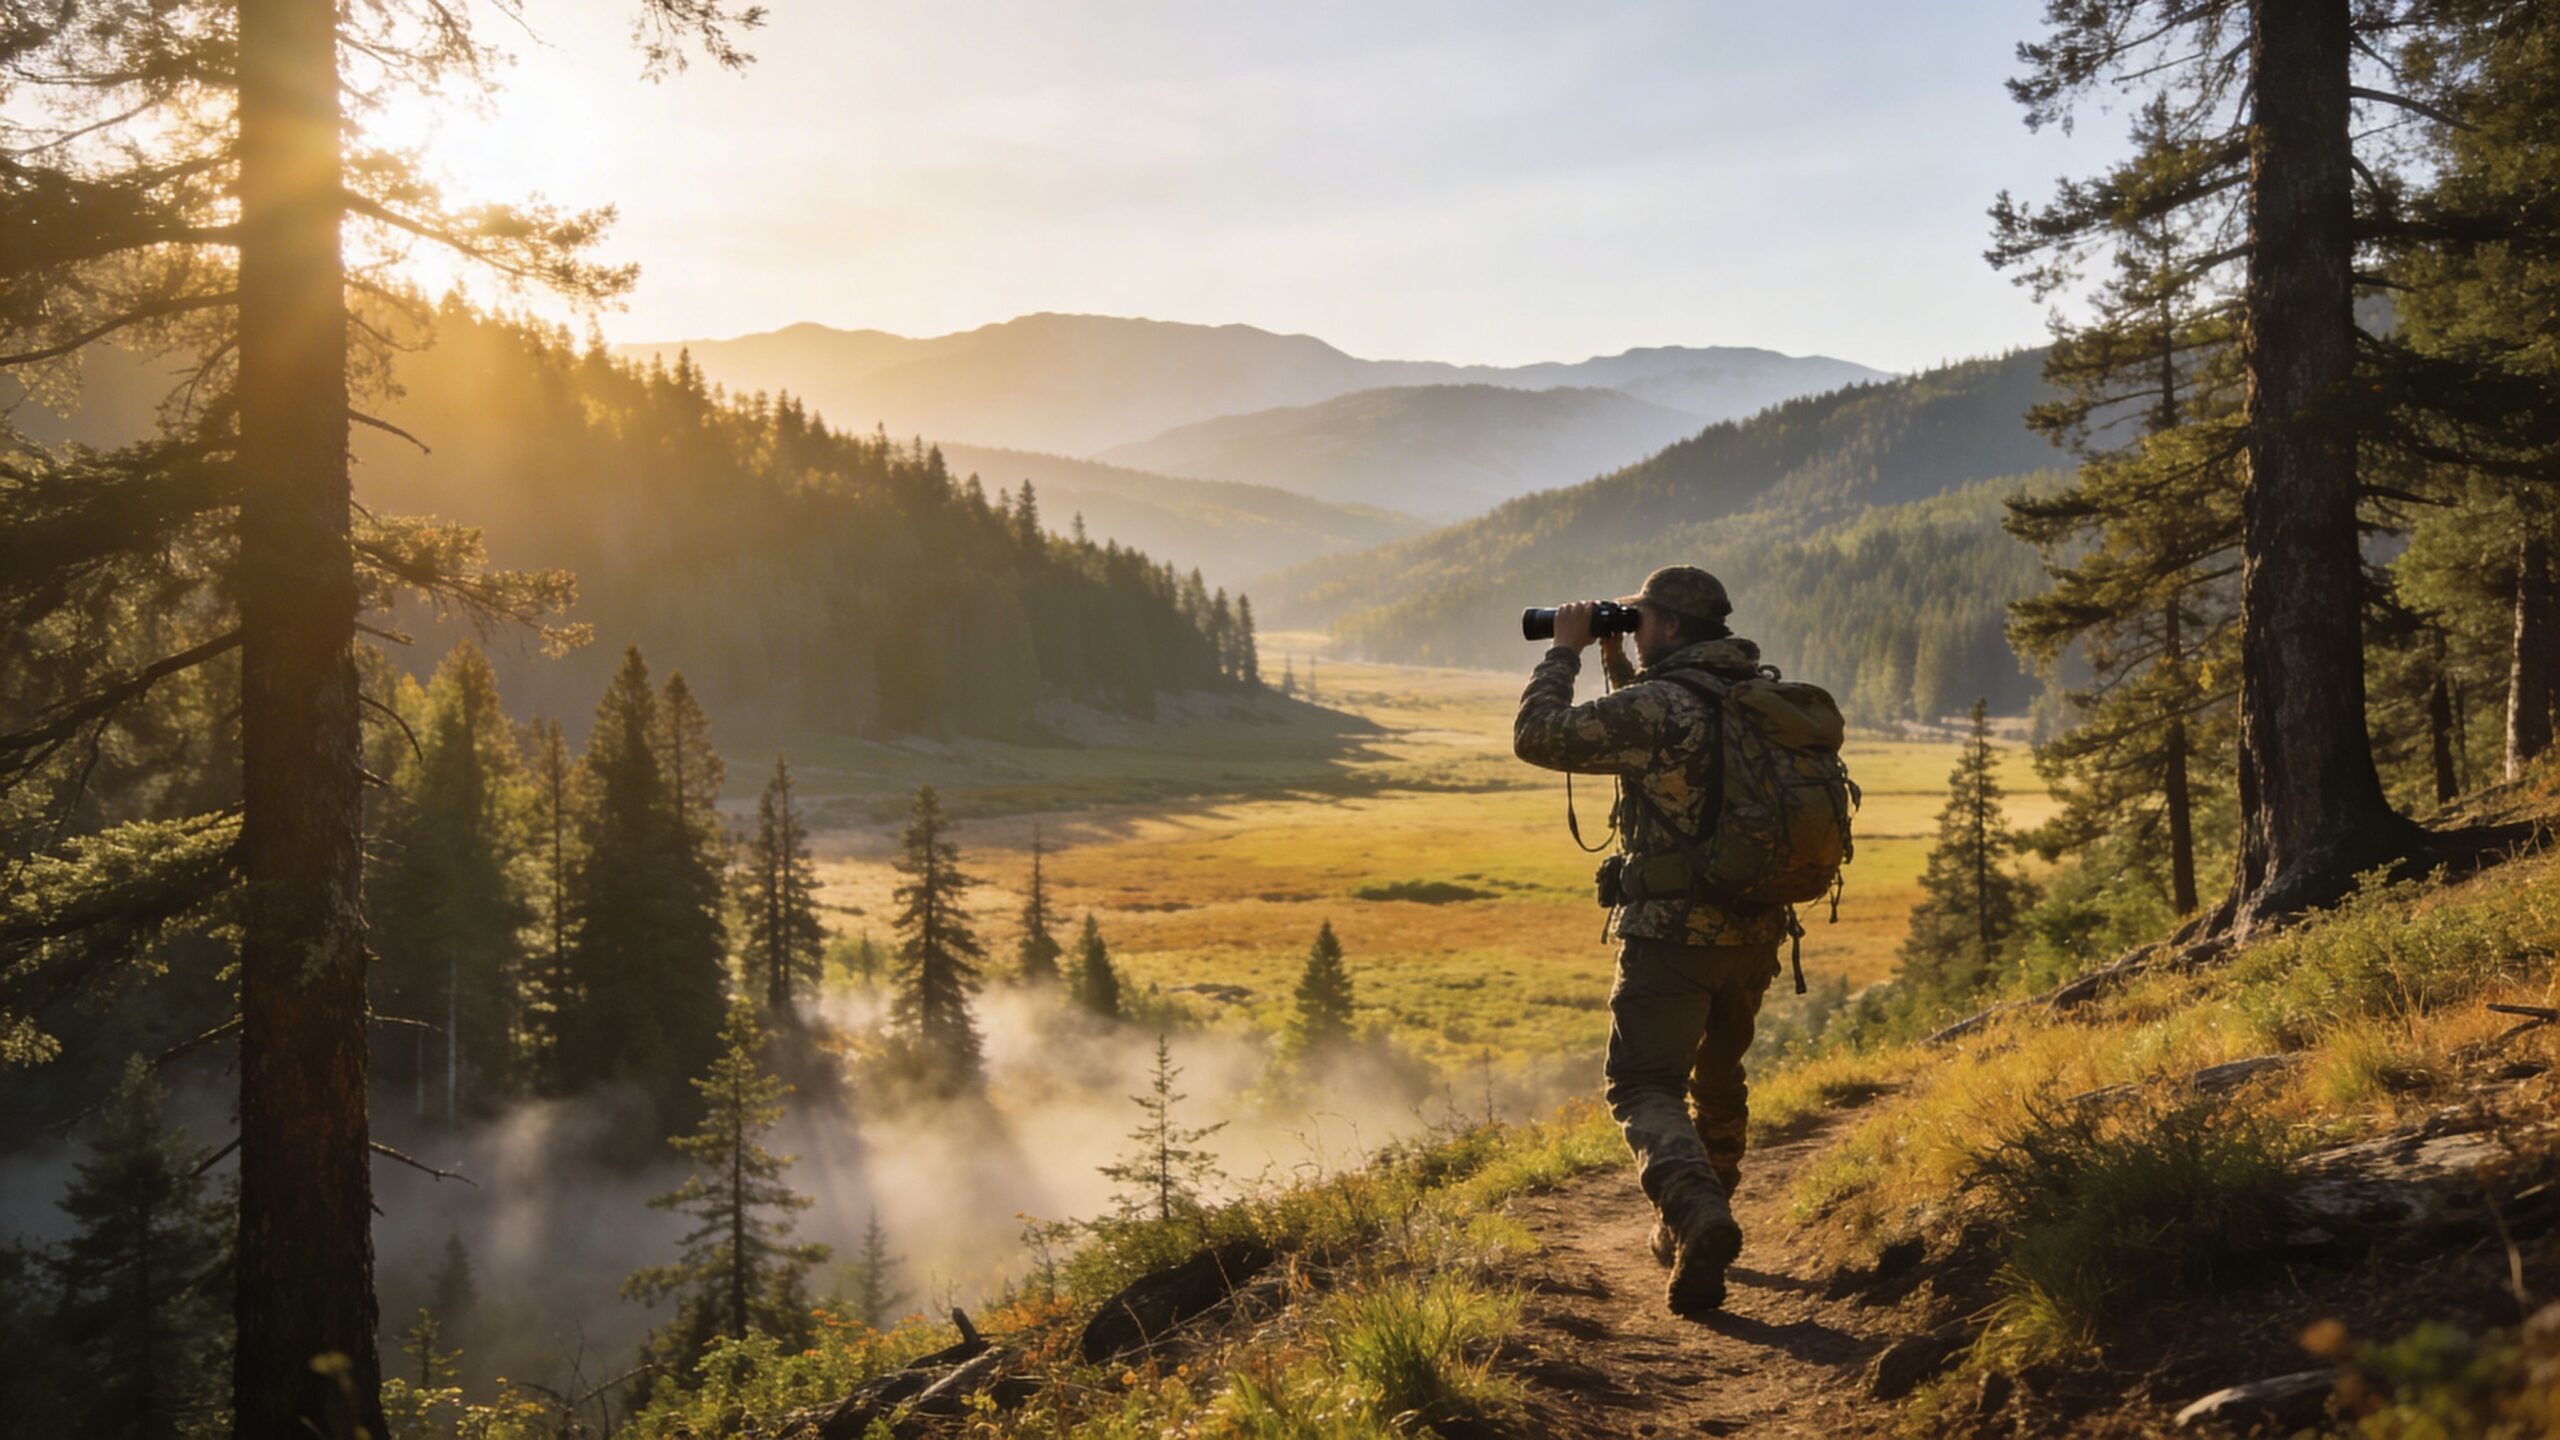
Modern hunters have incredible tools available, but tools only help when you use them with intent. Learn your area through maps and imagery. Look for the structure of the landscape: where ridges connect, where drainages funnel movement, where north-facing timber provides bedding cover, where south-facing slopes provide feeding, and where water sources create predictable patterns. Pay attention to access points, trail systems, and private land boundaries. Many first hunts go sideways because hunters unknowingly push animals onto private ground or spend days in places that look good but lack food or water. Create a short list of “focus zones” rather than trying to learn the entire unit. Two or three zones you understand well beats ten zones you barely remember. Within each zone, identify likely feeding areas, bedding cover, and travel corridors. Then decide how you’ll hunt each zone depending on wind direction and time of day.
Step 6: Decide Your Hunt Style and Keep It Simple
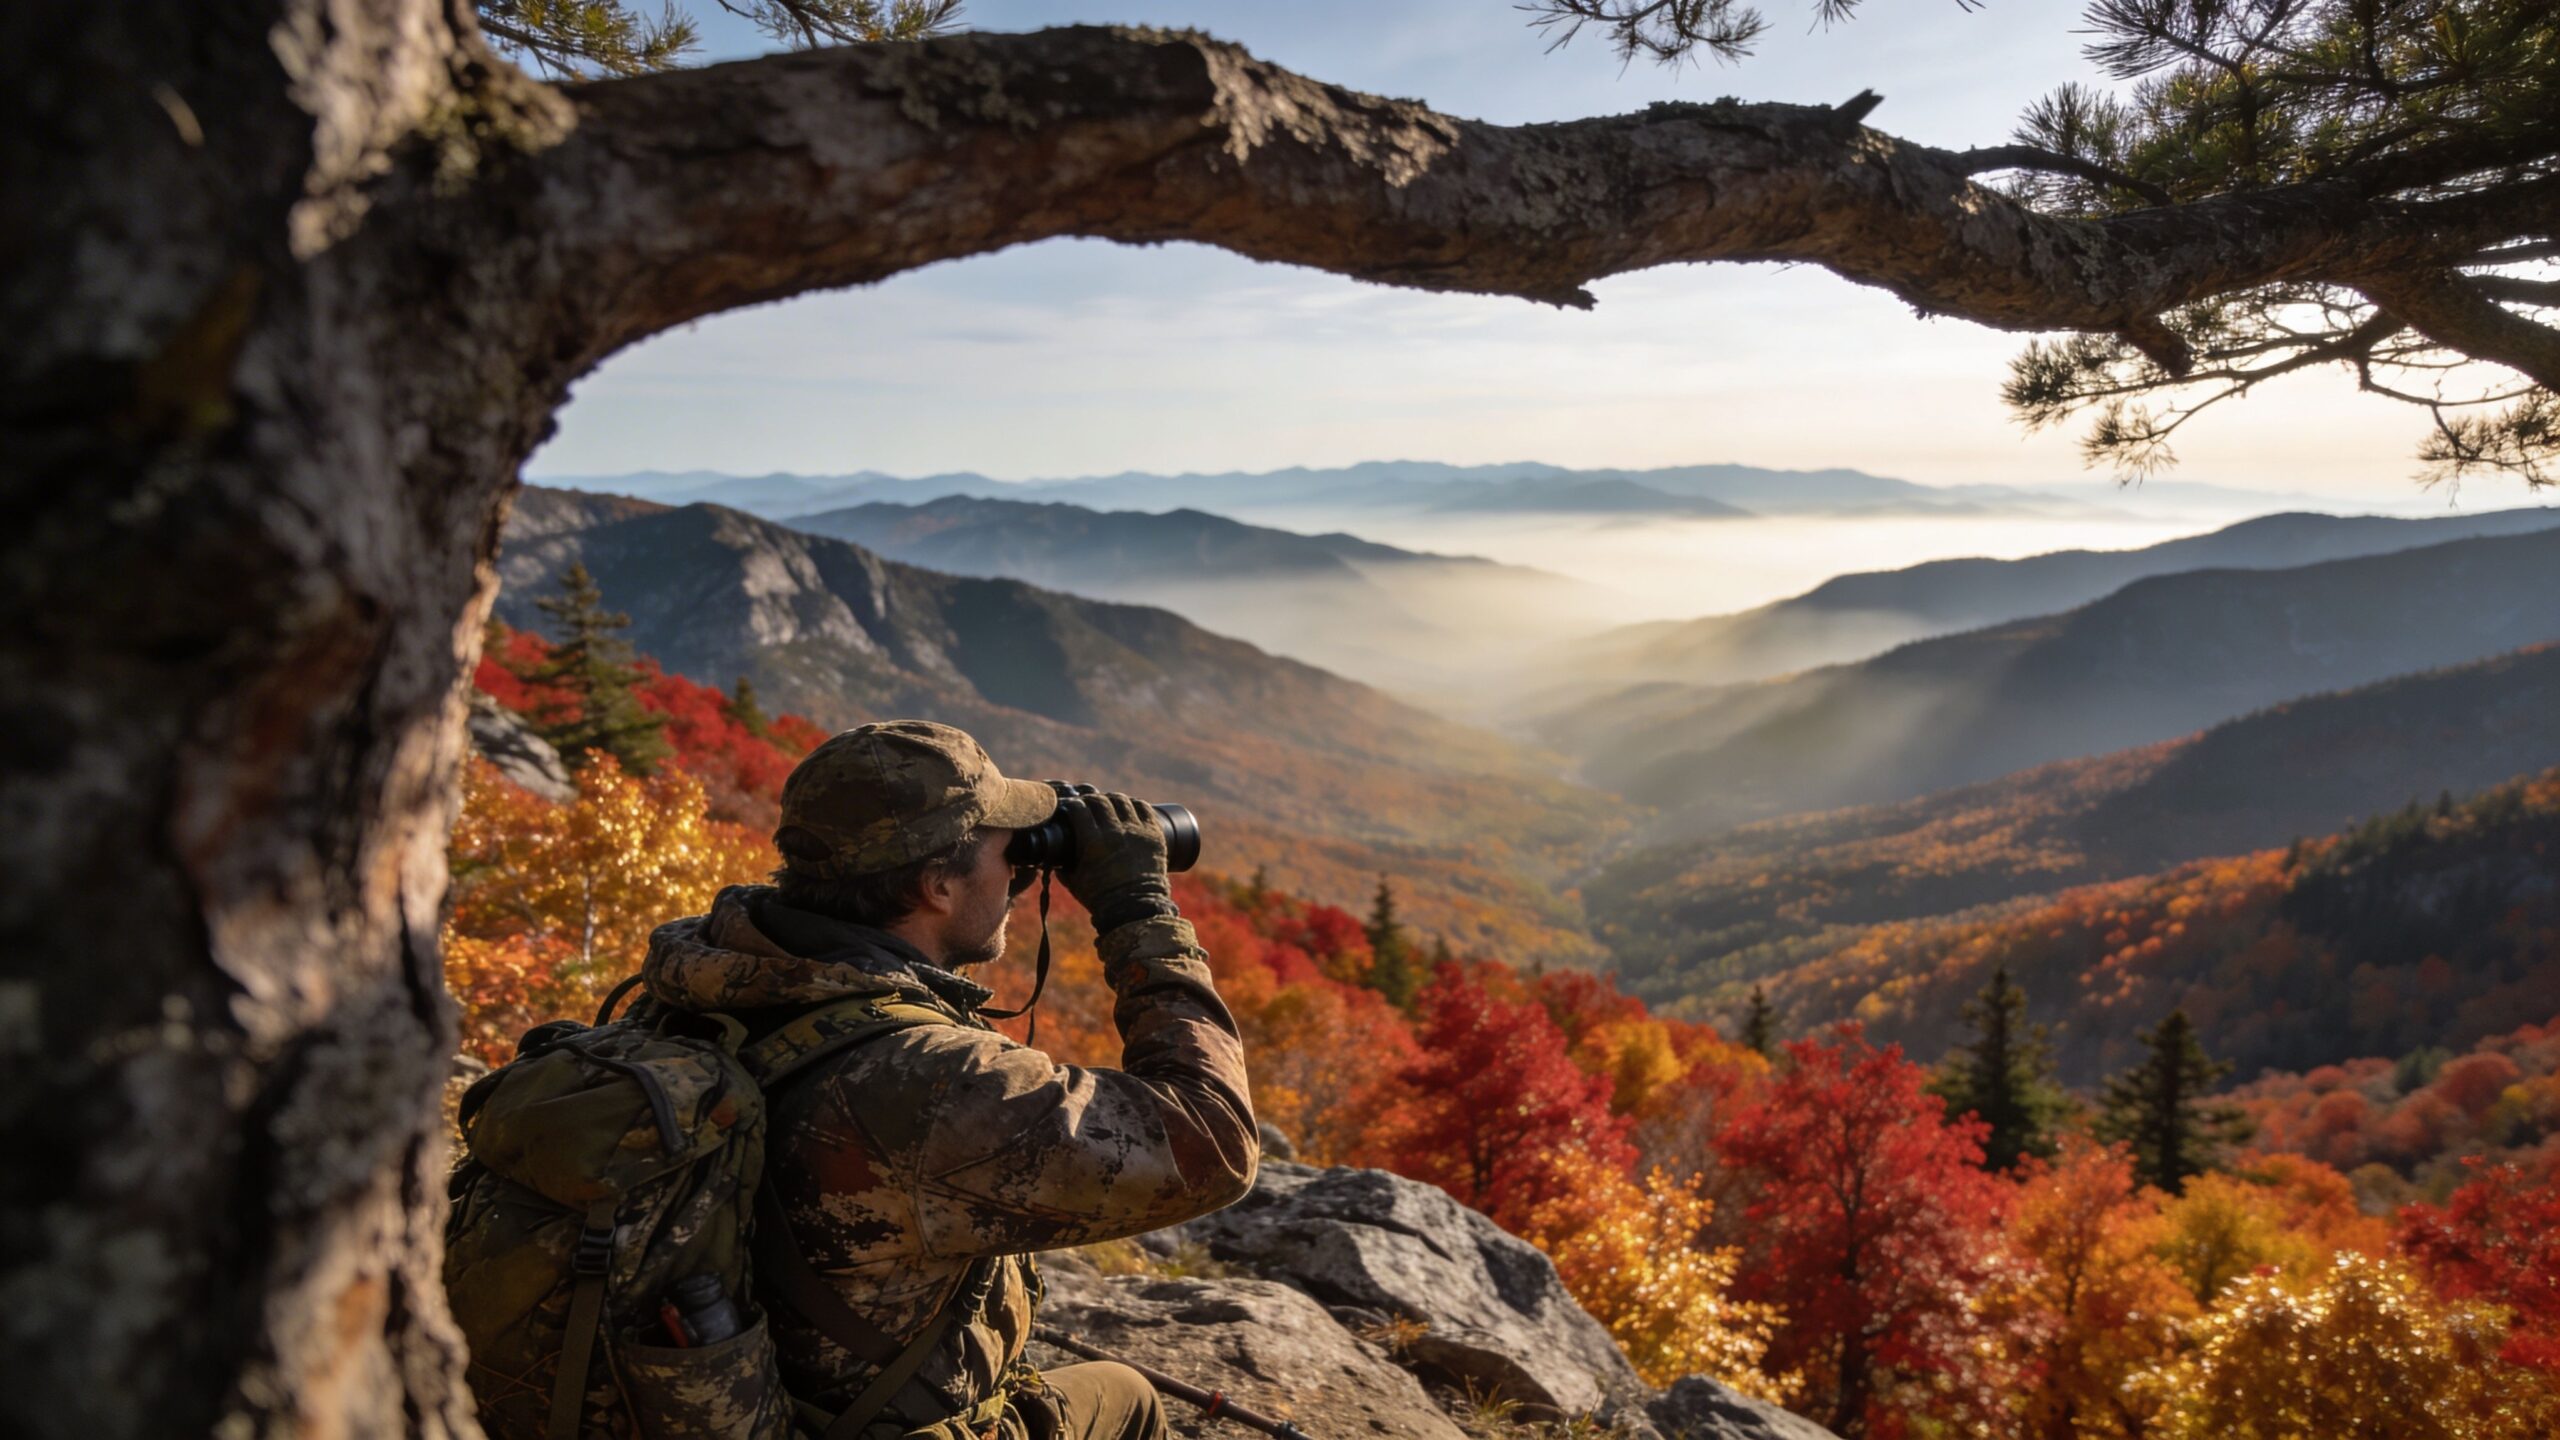
Big game hunters often get pulled in too many directions: spot-and-stalk, calling, still hunting, ambush, rattling, long-range. For a first hunt, simplicity wins. Pick a primary method and a secondary method, and commit to learning those well. If your hunt area has open country, spot-and-stalk can be a great primary style. If it’s thick timber, still hunting and careful listening might be better.
The key is to choose a style that fits your terrain and your personality. If you’re patient and enjoy glassing, lean into optics and observation. If you prefer movement and exploration, structure your movement around wind and likely travel corridors. Beginners often succeed faster by slowing down and hunting smaller areas thoroughly rather than hiking massive distances every day.
Step 7: Gear Planning That Actually Works in the Field
The best gear list is the one you’ve tested. Beginners often buy equipment based on fear: fear of being cold, fear of being underprepared, fear of not having the “right” gadget. That leads to overweight packs and cluttered decision-making. Your first hunt should emphasize essentials: reliable navigation, weather-appropriate clothing, food and water management, and a dependable weapon system you can shoot confidently.
Boots matter more than most new hunters realize. A poor boot decision can end a hunt early. Your pack matters too, especially if you’re hunting far enough that a successful harvest requires carrying meat. A well-fitted pack can make heavy loads manageable, while a poor pack can turn a pack-out into misery. Your clothing system should focus on layers so you can regulate temperature while moving and then stay warm while glassing or sitting.
The most important “gear” is still your rifle or bow setup and your confidence in it. Your weapon system should be simple, sighted in, and familiar. Everything else is support.
Step 8: Shooting Prep: Build Confidence, Not Ego
For a first big game hunt, your shooting plan should be built around ethical distances you can reliably hit from field positions. That distance is not what you can do once on a calm day. It’s what you can do repeatedly, under time, with elevated heart rate, from realistic positions. Practice from prone, kneeling, sitting, and off a pack. Practice with your hunting ammunition. Practice with the clothing you’ll wear. The goal is not to be a “long-range shooter.” The goal is to be a consistent hunter.
A professional approach to first-season shooting is simple: confirm your zero, confirm your point of impact at realistic distances, and train yourself to press the trigger without rushing. If you bowhunt, build your plan around close encounters and repeatable shots, and spend extra time practicing awkward angles and controlled breathing.
Step 9: Create a Daily Game Plan You Can Execute
A first hunt becomes dramatically easier when you stop improvising every hour. Create a daily plan with a morning strategy, a midday strategy, and an evening strategy. In many regions, animals feed early and late and bed midday. That means mornings are for locating and intercepting movement. Midday is often for still hunting bedding edges, moving slowly through cover, or repositioning for evening. Evenings are for glassing and getting into place before animals step out. Your plan should include specific “decision points.” If you don’t see fresh sign by midmorning, do you move to Zone B? If wind shifts, do you drop to the leeward side of a ridge? If you spot animals at last light, do you mark the location and plan an early morning approach? These decision points prevent analysis paralysis and keep your hunt moving forward.
Step 10: Learn to Read Sign and Stay Adaptable
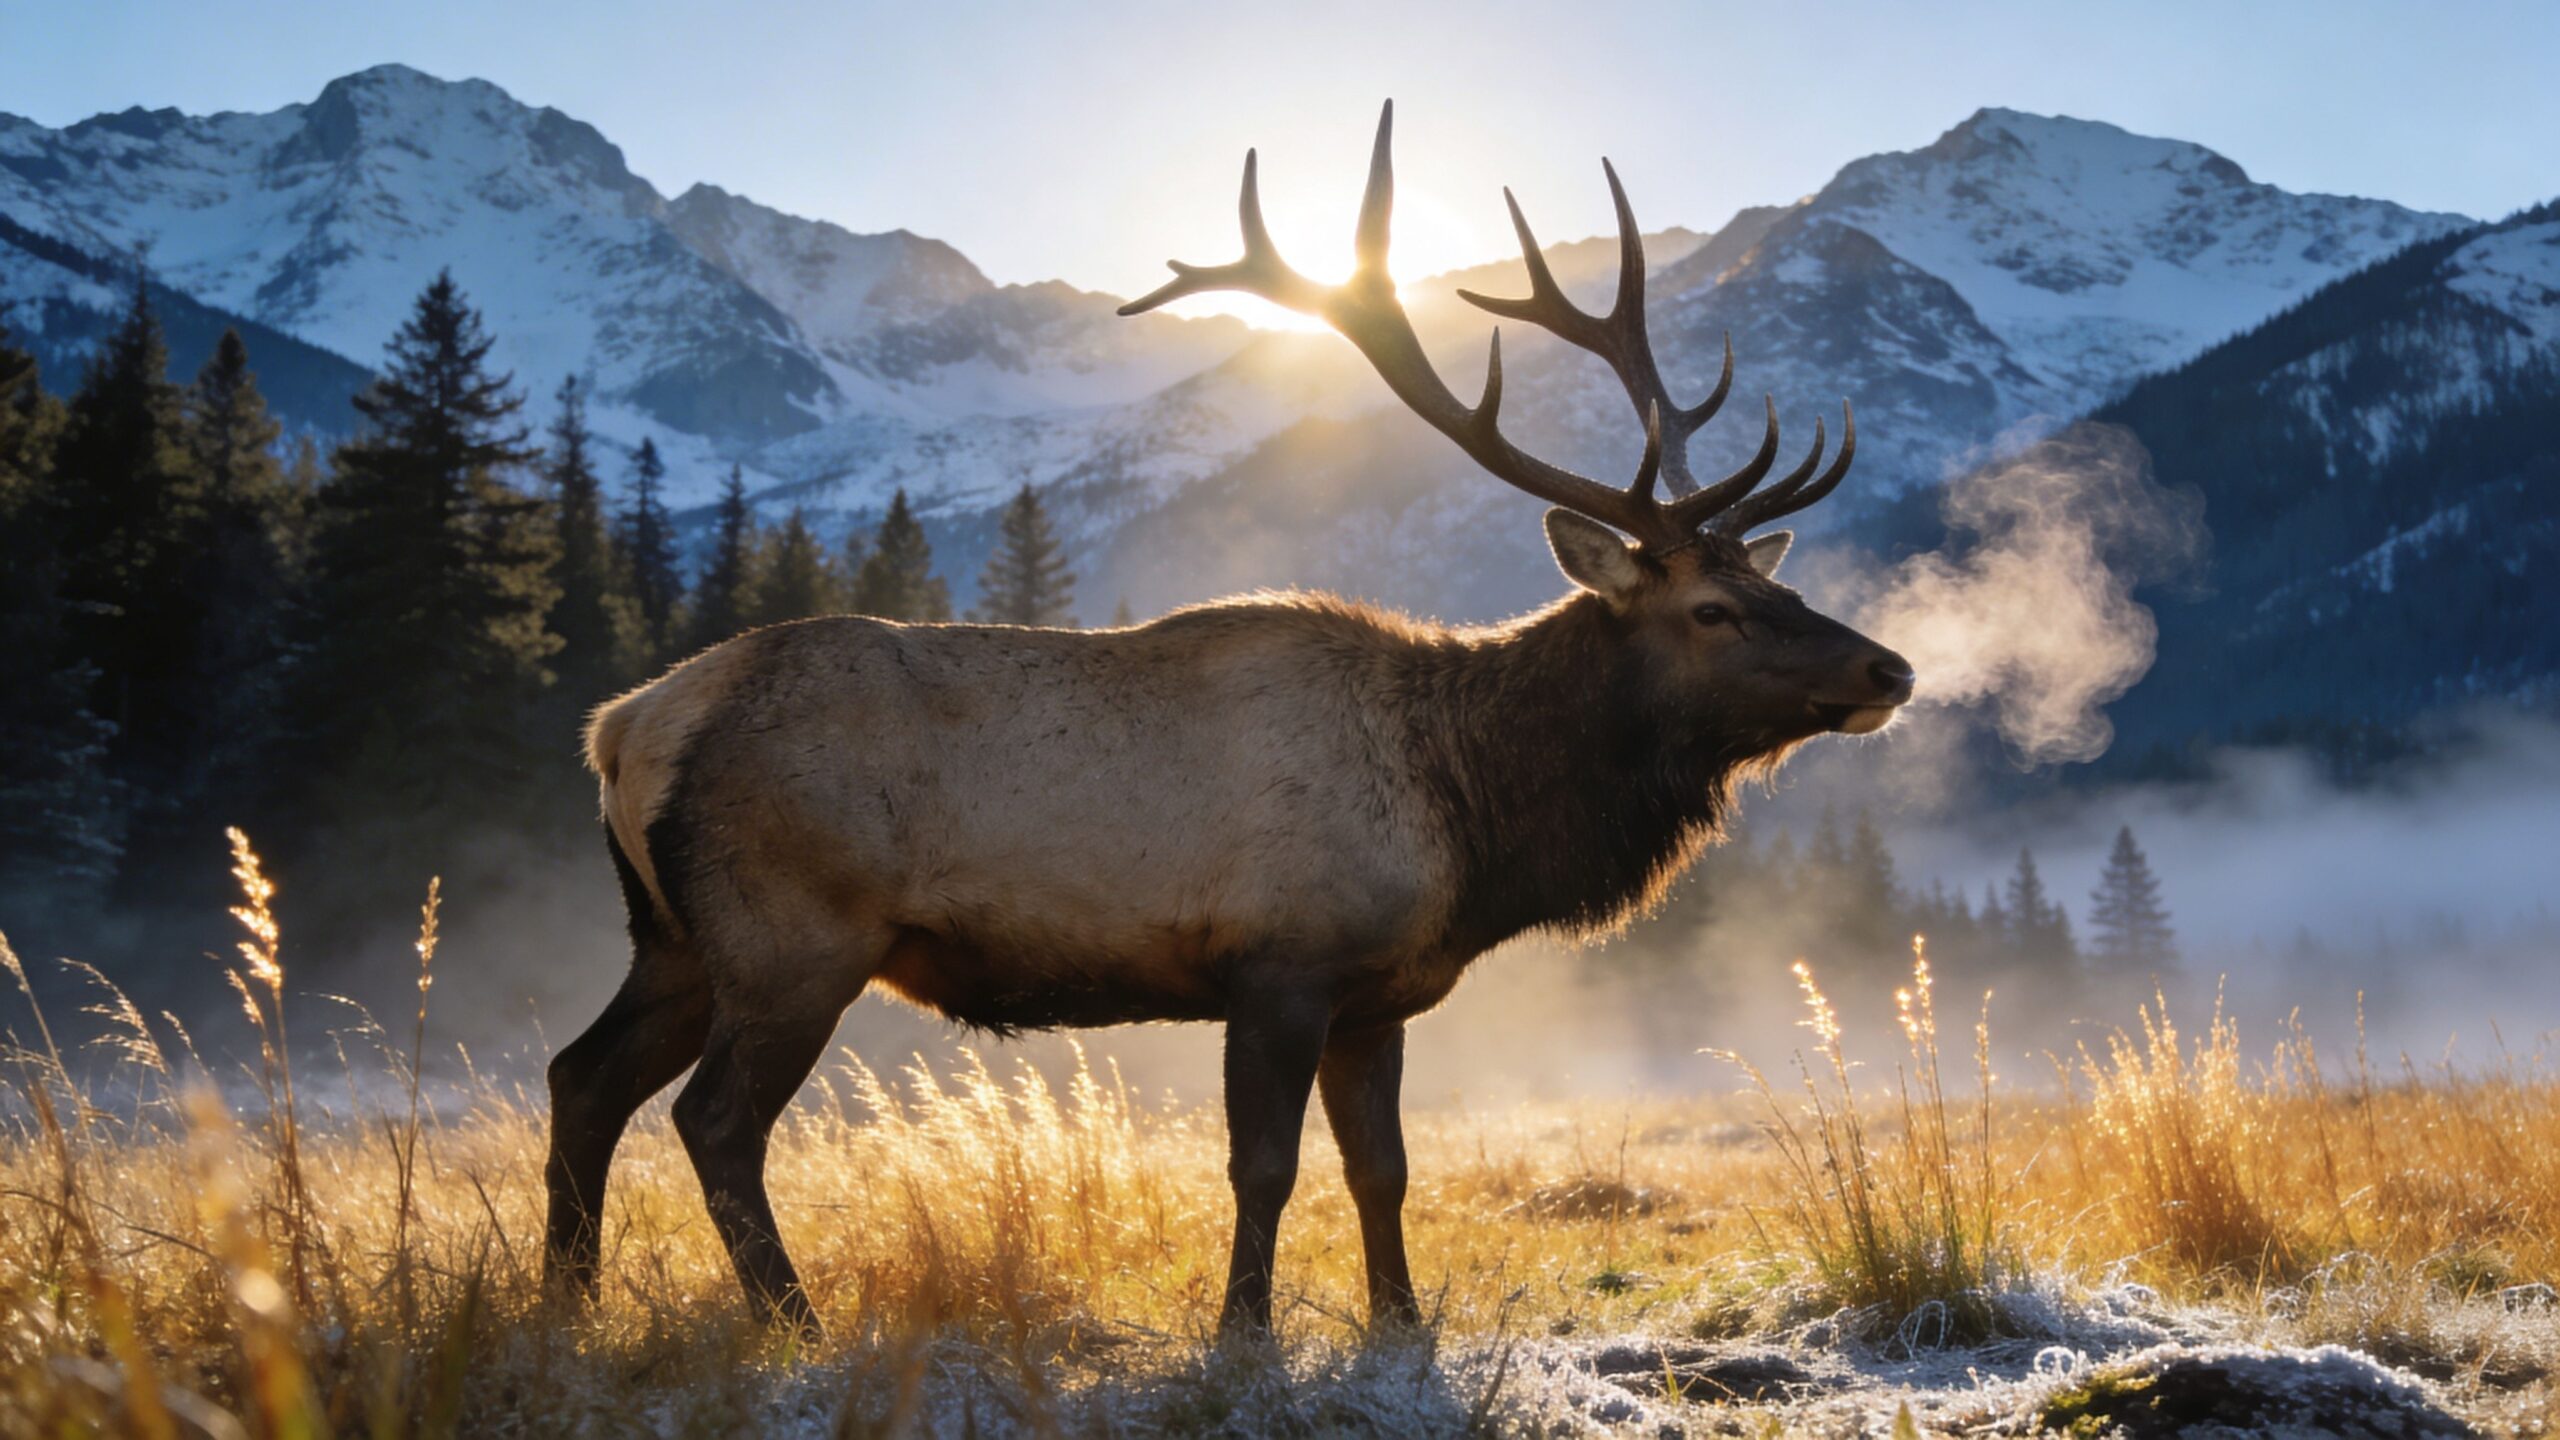
Big game hunting is a sign-based game. Tracks, droppings, rubs, beds, feeding evidence, and trails tell you whether you’re hunting where animals were or where animals are. On your first hunt, focus on freshness. Old sign is interesting but not useful. Fresh sign is a map. If you find fresh tracks and droppings leading into bedding cover, you’re close. If you find a trail that looks like a highway but the sign is old, you might be in last week’s story.
Pressure changes everything. If you see lots of hunters, expect animals to move into thicker cover, steeper terrain, or less obvious pockets. Your plan should include at least one “pressure escape” zone—an area that is harder to reach, less attractive to casual hunters, or requires a longer hike. Often, these zones don’t need to be extreme wilderness. Sometimes they’re simply overlooked.
Step 11: The Harvest Plan: Field Care, Pack-Out, and Pride
Your first big game harvest should be planned before it happens. You need a meat care plan that matches your weather and distance from the vehicle. If temperatures are warm, cooling meat quickly becomes urgent. If you’re far back, you’ll need a pack-out strategy that is safe and realistic. That means knowing how you’ll quarter the animal, how you’ll keep meat clean, and how you’ll transport it. Many hunters use the gutless method because it keeps meat clean and simplifies processing in the field. Regardless of method, the priorities are the same: keep meat cool, keep it dry, keep it clean, and protect it during transport. A successful harvest is not finished at the shot. It’s finished when the meat is cared for and you’re back at camp or the truck with everything handled ethically.
Step 12: The First Hunt Mindset That Keeps You Hungry
Your first hunt is a foundation. Some first hunts end with a filled tag. Some end with miles, memories, and lessons. Both can be successful. If you focus on learning the landscape, understanding animals, and building practical skills, you’ll come back sharper. You’ll notice patterns sooner, make better decisions faster, and feel calmer during real opportunities.
A professional hunter is not someone who never fails. It’s someone who learns quickly and stays disciplined. If you plan your hunt step-by-step, keep your strategy simple, and measure success by progress, you’ll do what most beginners never do: you’ll build the kind of experience that makes future seasons more rewarding.